Well we had to win to ensure we were not relegated. We lost 6-2. I tried my best but could not bring down the defenses of my opponent. The end result was a draw.
Almere 4 – De Wachter 1 – lucky escape?
This game wound down to free pawn on either side of the board. I wonder if my 40th move (Kg4) was actually a losing move. Anyhow my opponent did not play b5 and the game resulted in a draw. De Wachter won 4,5 to 3,5.
Setting up Visual Studio Code on Ubuntu 14.04 LTS in Hyper-V
Since I like programming with the Raspberry Pi and also like Microsoft Visual Studio I thought it would be nice to set up a virtualized Ubuntu 14.04 LTS with Visual Studio Code. This can then serve as the development platform for my Raspberry Pi since it has support for node.js and Python.
What do you need:
Visual Studio Code (no need to download as we are using an extra repository to install it using the package manager apt-get)
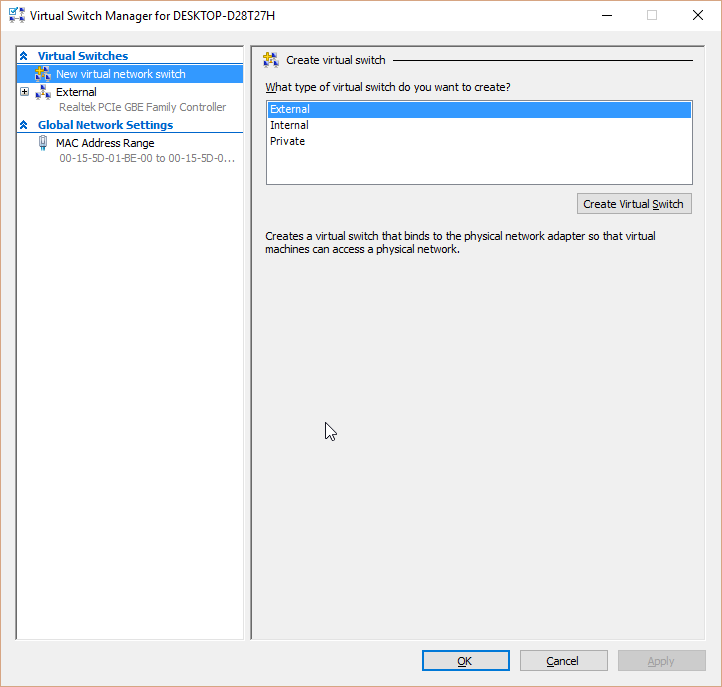
I used the x64 version of Ubuntu so I will need the same x64 version of Visual Studio Code. I assume you have set up Hyper-V and downloaded the ISO for Ubuntu. I am also assuming that you have set up an external switch so your virtual machine can connect to the internet. If not you can set it up in the virtual switch manager. Mine is configured as an external network. In effect the VMs will get an ip address from my router and this enables them to use the internet.
Steps:
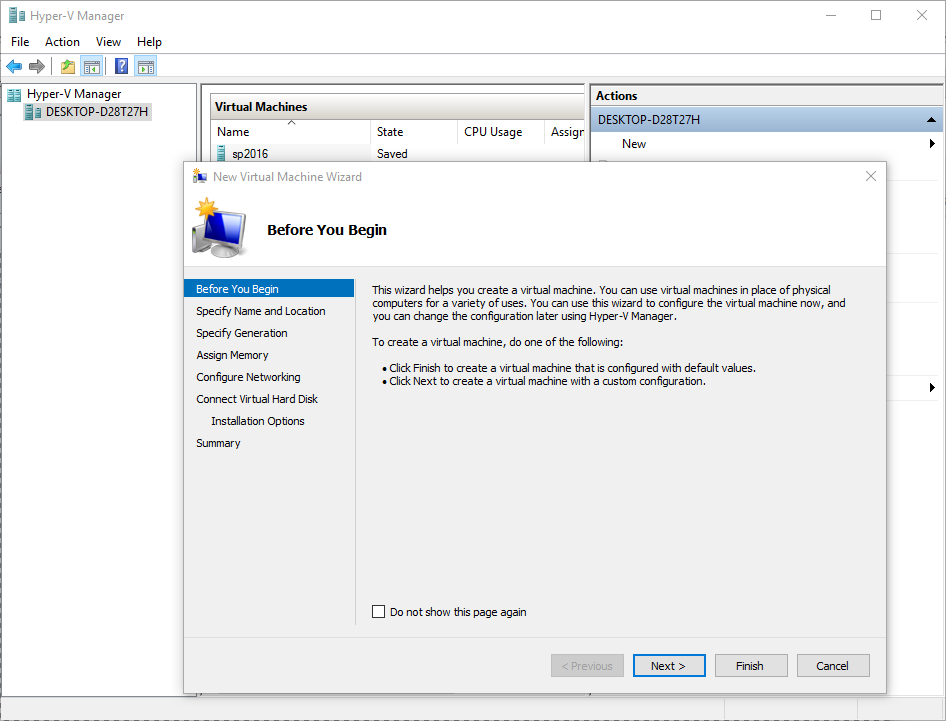
- Create a new VM in Hyper-V using the wizard
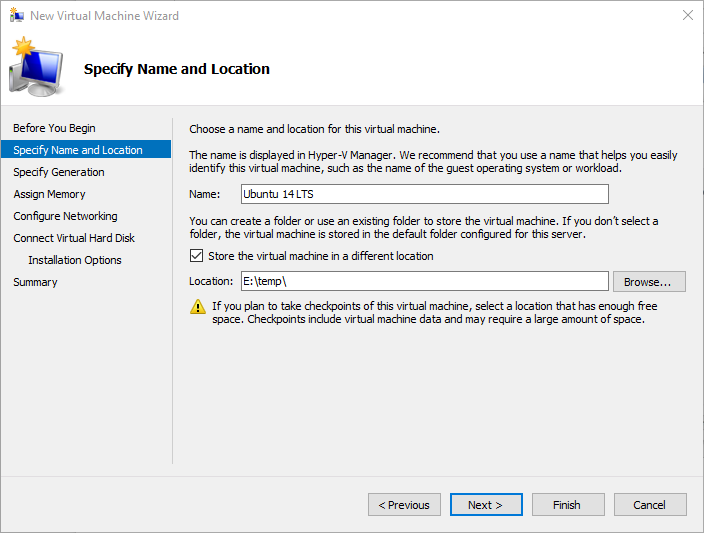
2. Specify name and location of the virtual machine (VM)
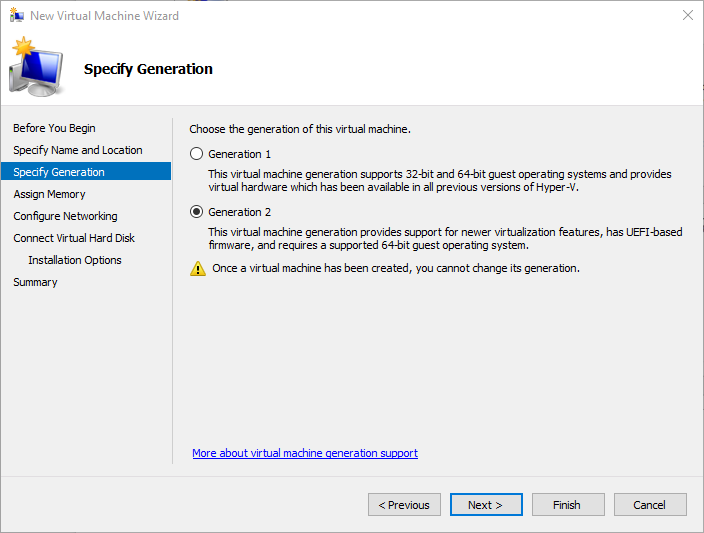
3. Specify the newest VM format. I have not tried with earlier formats
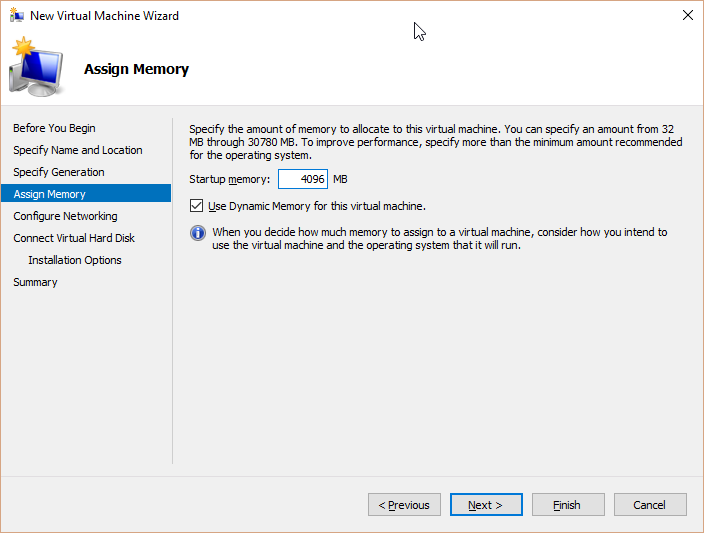
4. Assign memory. I just give it 4 GB but you could probably do with less.
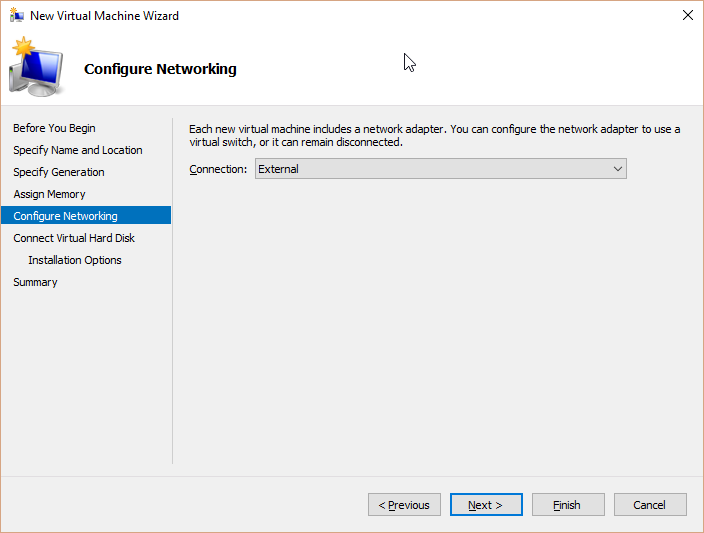
5. Assign networking. I have an external virtual switch so I can connect the VM to the internet. This is necessary for the package manager apt-get to be working and we also want to be able to use npm, the node.js packet manager.
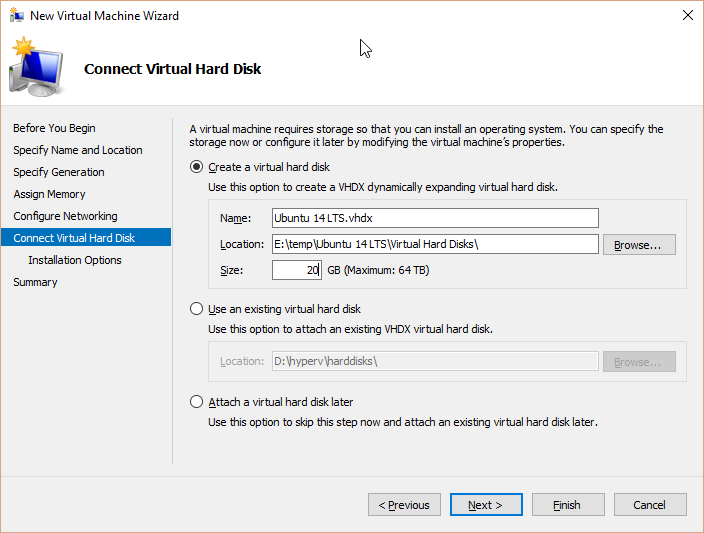
6. Create a new virtual harddisk. 20 GB should be plenty.
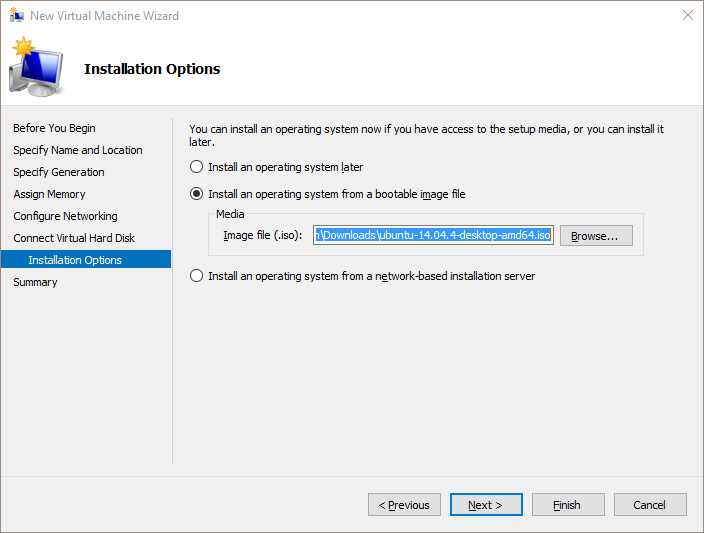
7. Specify the path to the Ubuntu 14.04 LTS iso in installation options.
8. Finish the wizard.
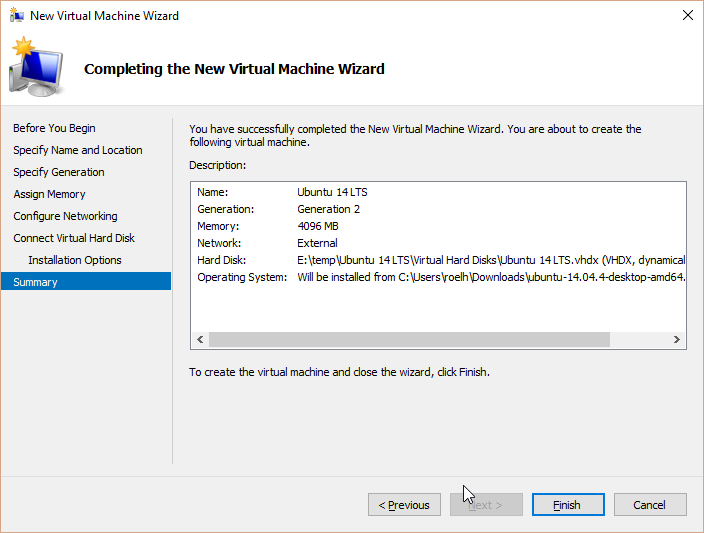
Now the virtual machine is created, go into settings.

Bump up the number of processors:
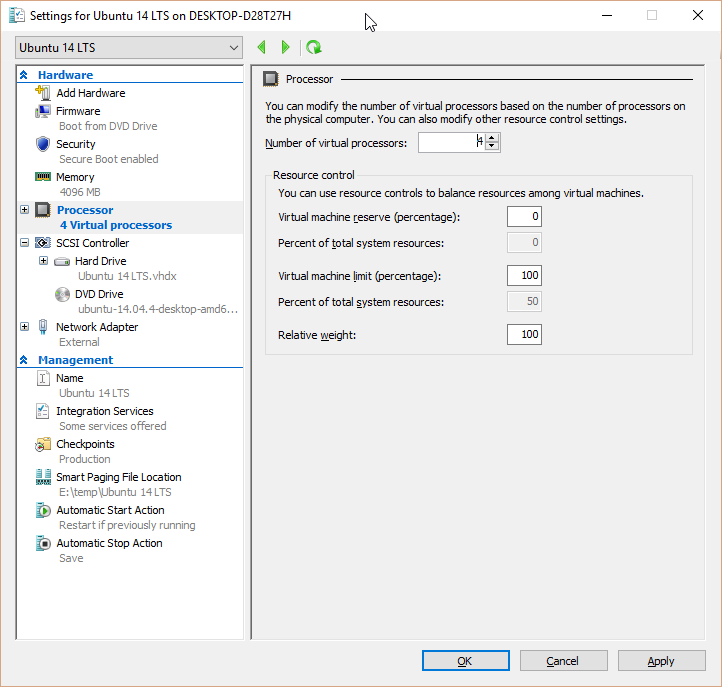
I have set 4 processors as I have plenty of (virtual) processors on an AMD FX8320. This CPU is an octacore. The reason to assign extra processors is that I could not get video acceleration working on Ubuntu in Hyper-V. If you just have one processor the Ubuntu desktop performs quite slowly.
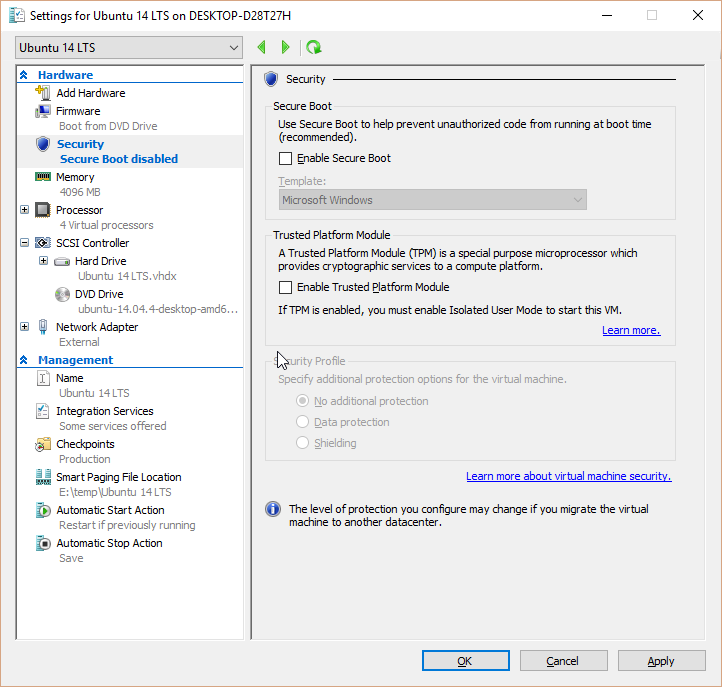
Now we also need to set some boot options as otherwise Ubuntu will not boot. We need to disable secure boot (I think this only applies to 2nd generation VMs):
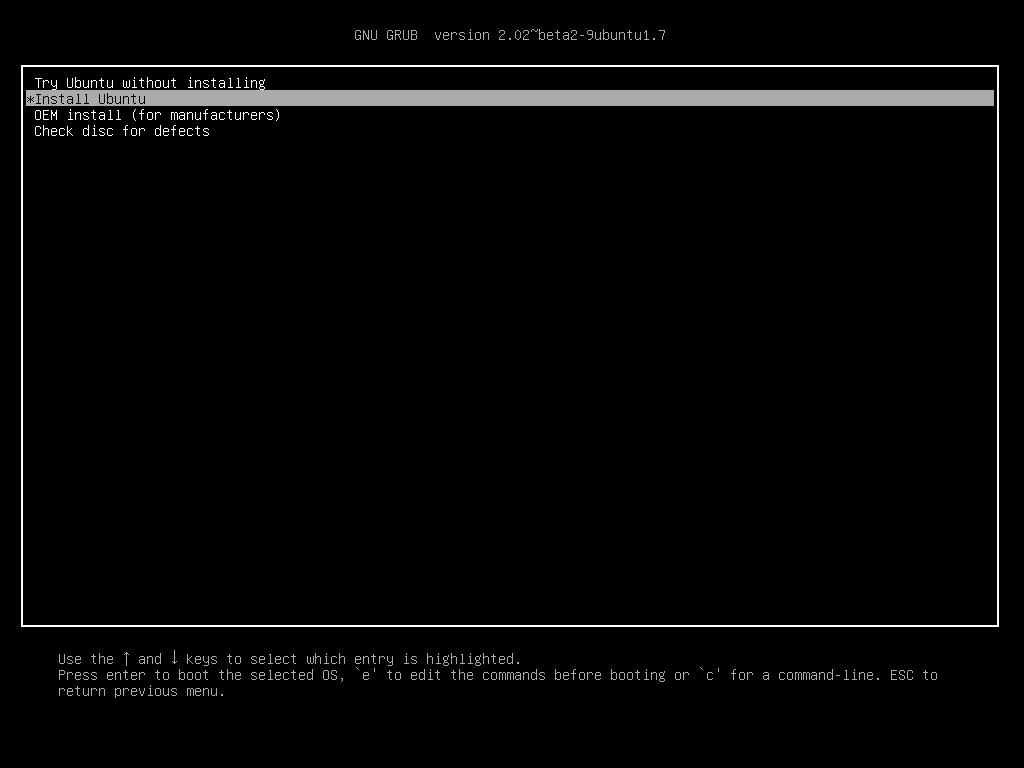
Okay now we are done let’s boot Ubuntu by starting the VM. Choose install Ubuntu.
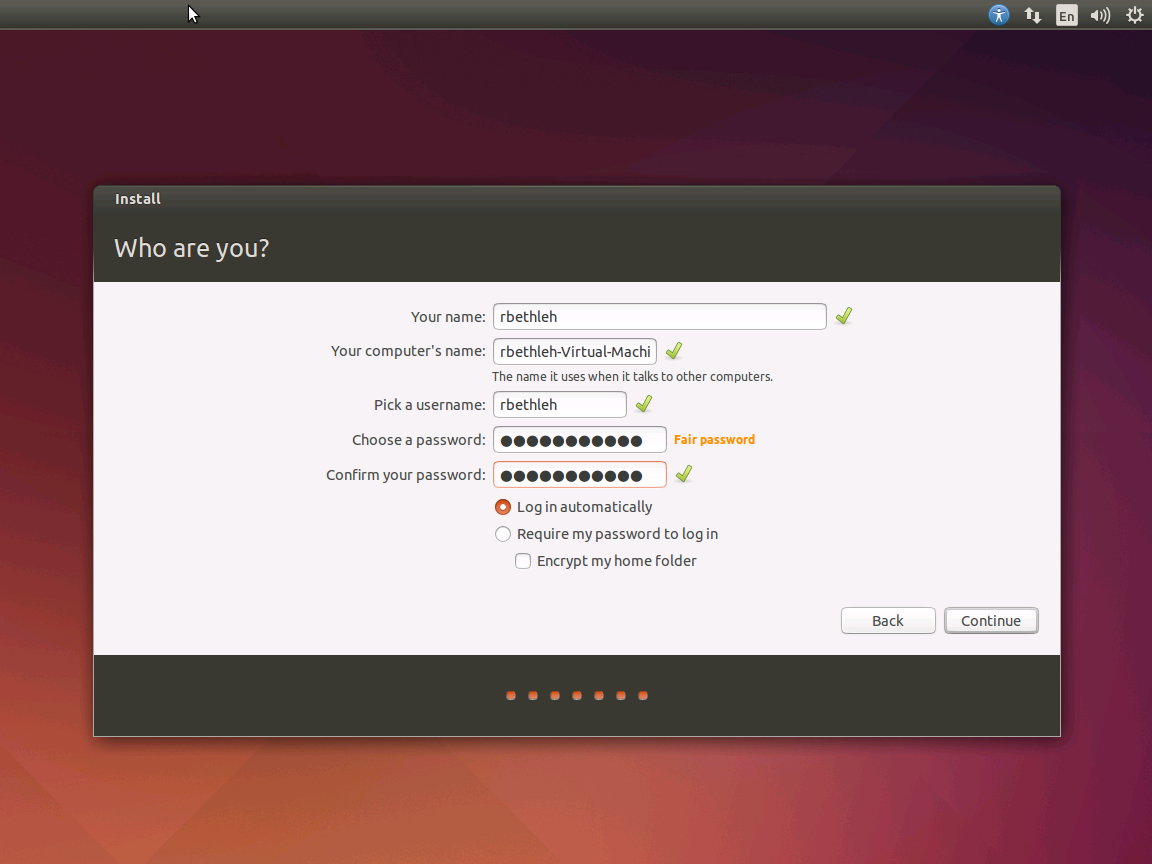
Now the installer boots up and just accept the defaults but make sure you choose the correct timezone and set the correct keyboard settings. For username set it to something you can remember and set it to login automatically.
Now Ubuntu will install and get yourself some more cafeïne.
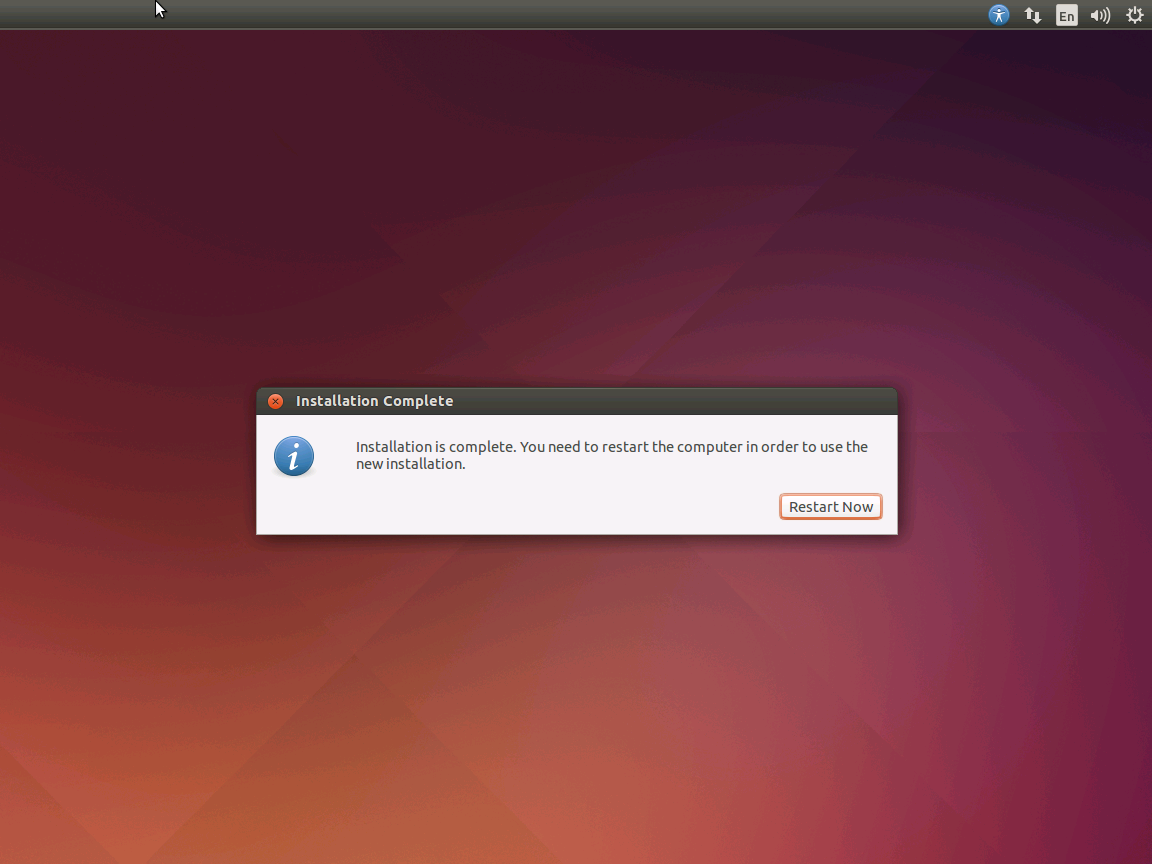
Restart and after pressing enter you should be greeted with the Ubuntu desktop.
Now we will need to do a few things.
We will need to update Ubuntu to the latest version
We will need to install extras to enable some extra functionality. See: https://technet.microsoft.com/en-us/library/dn531029.aspx
We need to fix the video settings so we can run full screen in Hyper-V
- Update Ubuntu.
Open a terminal in Ubuntu. If you are not familiar with Ubuntu just press the button in the upper left corner and type terminal.
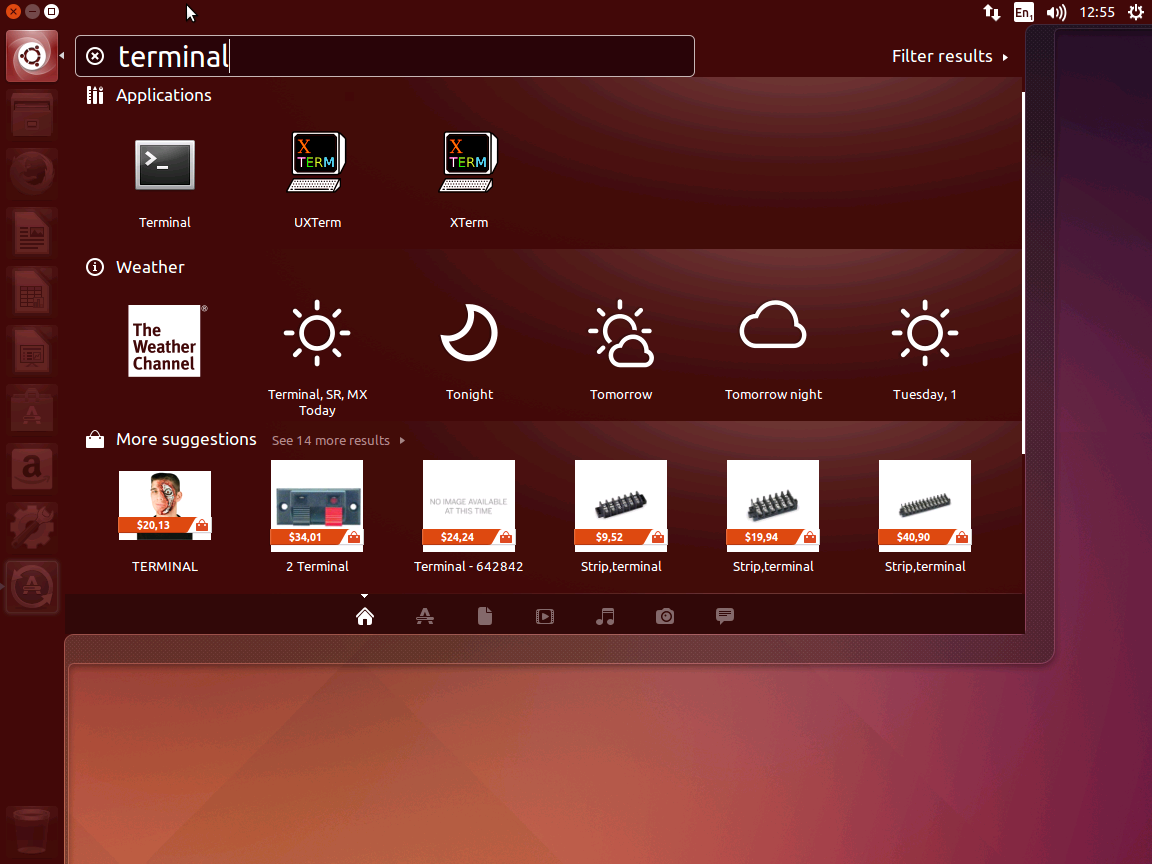
Click terminal in applications. Then type the following:
sudo apt-get update
sudo apt-get upgrade
This will update Ubuntu.
2. Install extensions for the Hyper-V on the virtual machine.
In the same terminal type:
sudo apt-get install –install-recommends linux-virtual-lts-vivid
sudo apt-get install –install-recommends linux-tools-virtual-lts-vivid linux-cloud-tools-virtual-lts-vivid
3. Fix the video settings. Since we want to develop we need to run full screen. To do this we need to set the video manually as display settings in Ubuntu cannot detect the correct settings. In the same terminal type (i am using nano since it is more friendly as vi):
sudo nano /etc/default/grub
Locate the line that reads:
GRUB_CMDLINE_LINUX_DEFAULT=”quiet splash”
And change it to (in my case 1920×1080 is the highest my monitor can handle):
GRUB_CMDLINE_LINUX_DEFAULT=”quiet splash video=hyperv_fb:1920×1080″
Press ctrl-x and say Y to save your settings. Now update grub by typing this in the terminal, then reboot:
sudo update-grub
sudo reboot
You should now be able to run your hyper-v vm with Ubuntu in full screen. Now we should be able to install some Visual Studio Code goodness.
After the reboot open up the terminal again (taken from http://askubuntu.com/questions/616075/how-to-install-visual-studio-code-on-ubuntu).
sudo add-apt-repository ppa:ubuntu-desktop/ubuntu-make
sudo apt-get update
sudo apt-get install ubuntu-make
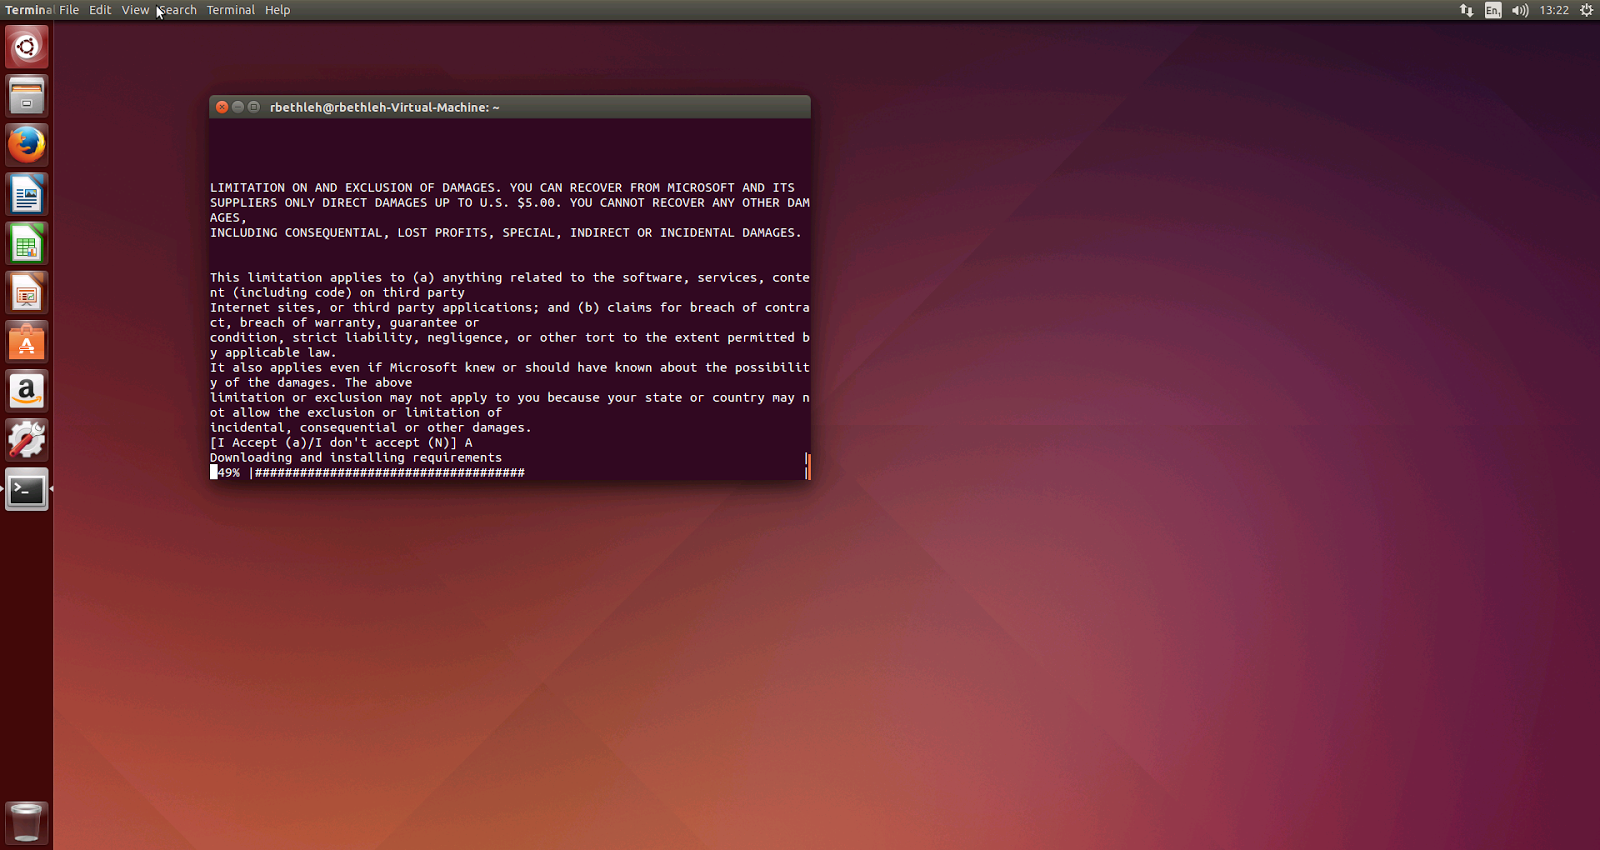
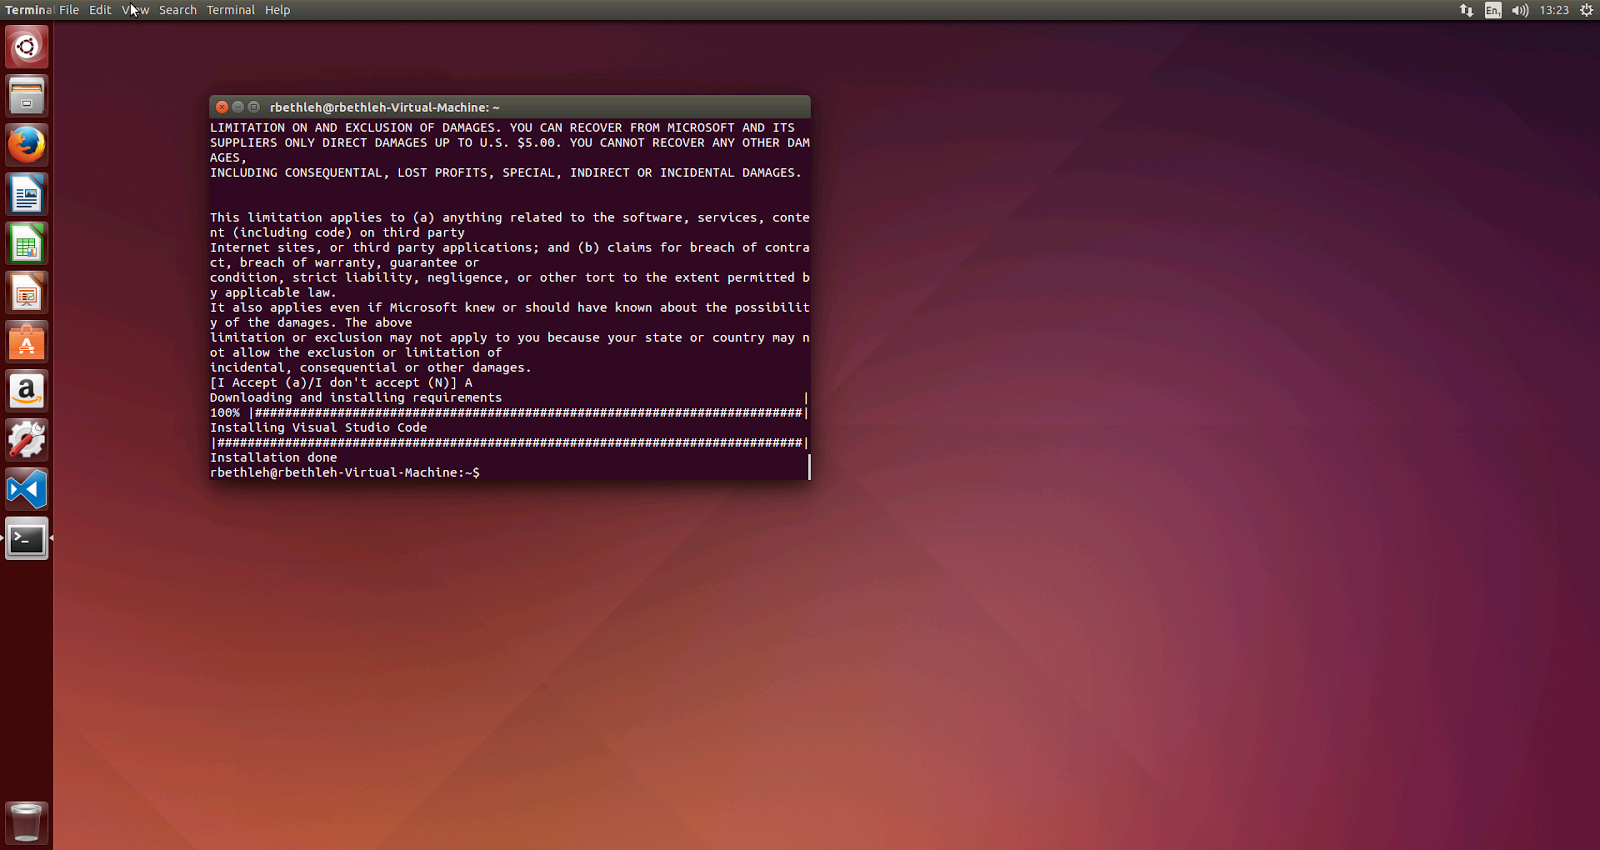
Then install Visual Studio Code:
umake ide visual-studio-code
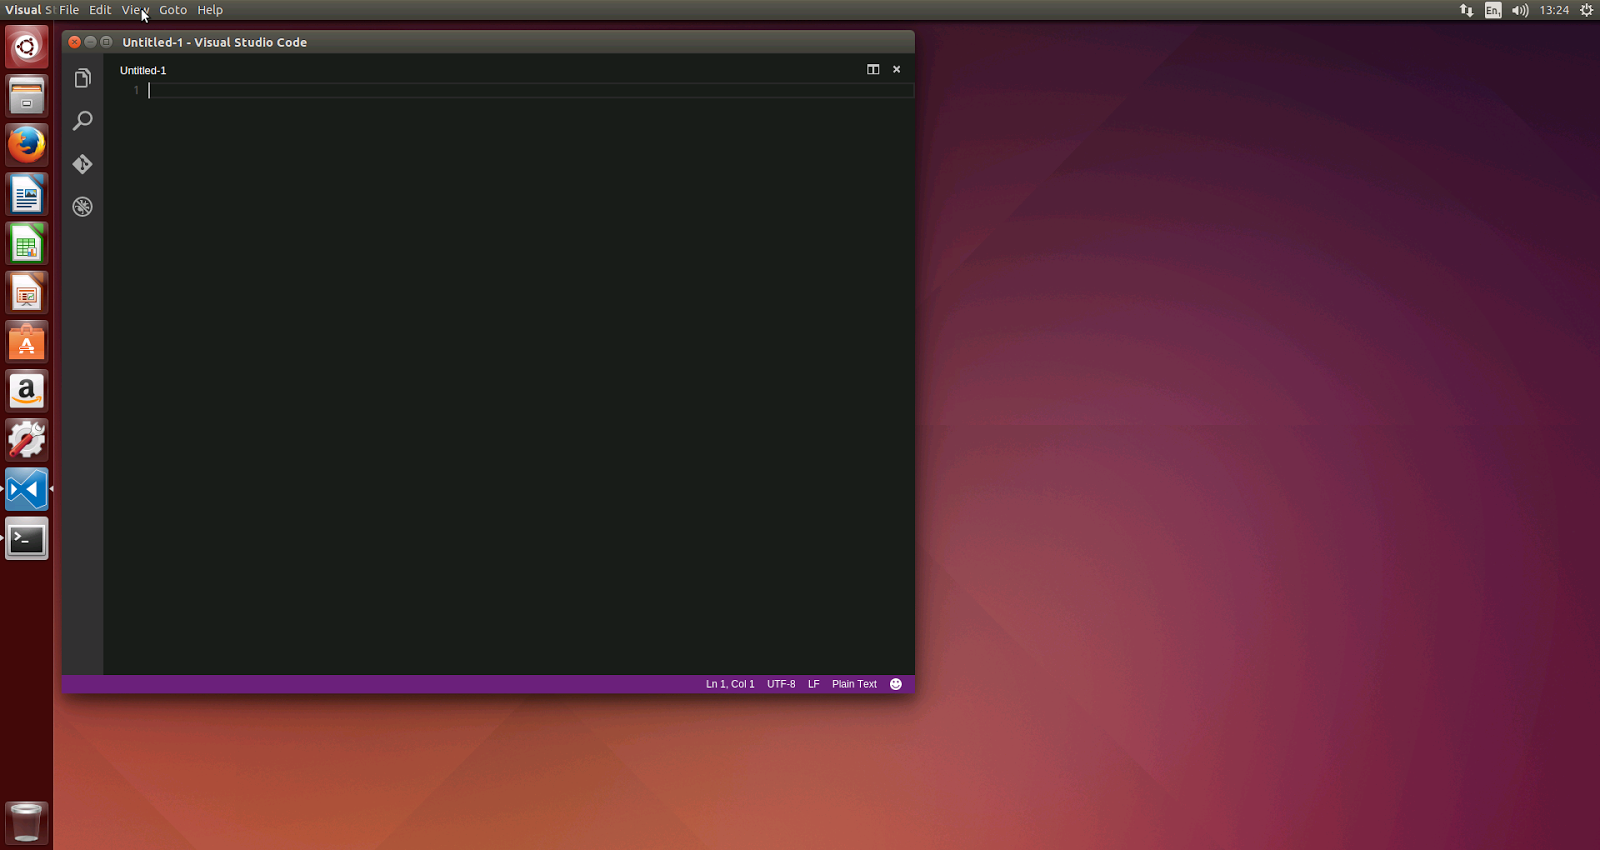
Now Visual Studio Code will be installed and an icon will be added in the launchbar for Visual Studio.
Fix problematic node nodejs reference
ln -s /usr/bin/nodejs /usr/bin/node
See: http://stackoverflow.com/questions/26320901/cannot-install-nodejs-usr-bin-env-node-no-such-file-or-directory
You are ready to go now.
New phone – switching from Apple IOS to Windows Phone with a BLU HD LTE
At my work I have a Blackberry Z10 which I totally loathe. I could not figure out how to make a phone call on it at first. So I thought lets go for a new phone that supports dual sim. I can just slot both the private and work sim cards in and don’t have to lug around two phones.
Obviously the Apple line up has no dual sim so that was out. So I was left with Android and Windows Phone as possible platforms. As a budget I just wanted to spend as little as possible since I am ok with phoning, whatsapping, emailing, news, banking and facebook for basics. 4G (LTE) would be great but not essential.
At first my choices were:
- Lumia 640
- Motorola G (second generation)
- Mii Redmi Note
All are in the 100-170 euro price range. The Motorola is only available in 3G and there is no dual sim on the latest generation (unless you are in Asia). The Mii looked very good but I had concerns about the service as it would have to be a china import. The Lumia 640 comes in at around 170 euro for the 4G model (cheaper for the 3G). I was just nosing around on Amazon.de when i noticed the Blu HD LTE which looked similar to the Lumia 640. It was just 130 euro for the 4G model and seemed to come with more accessories such as cover and screen protector. So I thought that gives me 40 euro to spend on beer extra so why not. Funny enough the Blu is not available in the Netherlands and the best way to get it is probably through Amazon.de.
So I ordered it. Since I have a Lumia 520 for backup phone and I was quite happy with that, I thought it was well worth a chance. After just three days the phone was delivered. So I unboxed it and here is what I noticed (compared to an IPhone 5s).
- The device is pretty big at 5 inches and is bigger than the IPhone 5s
- There is a cover, screen protector, earphones and usb cable in the box. No dedicated recharger.
- It has the two sim slots plus an extra slot for the micro SD card (up to 64 GB I belief)
- Front and back facing camera
Since I already have a Microsoft account I just added that when I set up the phone. Although that was a bit clunky with the sim card already in the new device, it completed without any more trouble and all my previous settings and apps were restored from the Lumia 520 backup. I managed to forget my password for the sim card of work so I will need to have that reset, so I cannot comment on the dual sim yet.
I will post some more of my experience after three months.
Couple of mistakes and still a draw
Perpetual chess. I liked my knights. Black should have won though.
First loss of the season
This was my first loss this season. Our team lost 7-1. Computer analysis showed I should not have exchanged the rooks. Well leason learnt.
Swindle king
Well another swindle… I was in a clearly losing endgame after a mistake on move 37. Well it was pretty hard to calculate. I just wanted to protect that double pawn. So I was losing and somehow won again. Just a3 instead of b3 on move 41 would have won the game for white.
So what can you do to get a swindle:
- You have already lost. Your opponent needs to work hard. The hardest is to win a win. The worst that can happen to you is that you lose.
- Try and keep the queen on the board. The more moves you have the more complicated it stays for your opponent.
- Sacrifice if you have to. Keep the position complicated.
- Look confident.
- Build a fortress, worst that can happen is you lose
- Look for trickery like mate on back rank or wild knights attacking multiple pieces
- Perpetual chess works
- Look for stalemate
- Its not my style but this happened to me: my opponent kinda slammed his queen on the board. I somehow did not take his queen then ended up losing my queen to a rook (and still drew the game). So some kind of little play to just throw your opponent off balance. I have no idea if this actually allowed…
Better an ugly win than a beautiful loss I suppose. De Wachter won 4,5 to 3,5.
Boven IJ 2 – De Wachter league match
This match ended in a draw. Could not really see how I could win this one. We lost 2,5 to 5,5.
Chaturanga – De Wachter, the stolen win
This was the first match I played with the Dutch Central Bank team in the Schaakbond Groot Amsterdam league. This win feels very stolen. I should have lost but tried everything to keep going. I tried to draw by perpetual check and even won in the end…
Setting up git server on Synology and using it as source control on Raspberry Pi
Lately I have been doing development on my Raspberry Pi creating a weather station from the ground up. Since I am using node.js and python to read the temperature and humidity sensor (a DHT22 sensor) I also had a need for source control. As I am coming from the Microsoft side all my experience is in TFS and that won’t do for a Linux environment. So git to the rescue since it runs on Windows, Linux and Mac. I wanted to have my private git server and I also own Synology server that is sitting in my electricity cupboard. This blogpost is a howto to setup git as a server on a Synology and use it on a Raspberry Pi so I have source control on the projects that I develop on the Raspberry. Lees verder Setting up git server on Synology and using it as source control on Raspberry Pi