Since I like programming with the Raspberry Pi and also like Microsoft Visual Studio I thought it would be nice to set up a virtualized Ubuntu 14.04 LTS with Visual Studio Code. This can then serve as the development platform for my Raspberry Pi since it has support for node.js and Python.
What do you need:
Visual Studio Code (no need to download as we are using an extra repository to install it using the package manager apt-get)
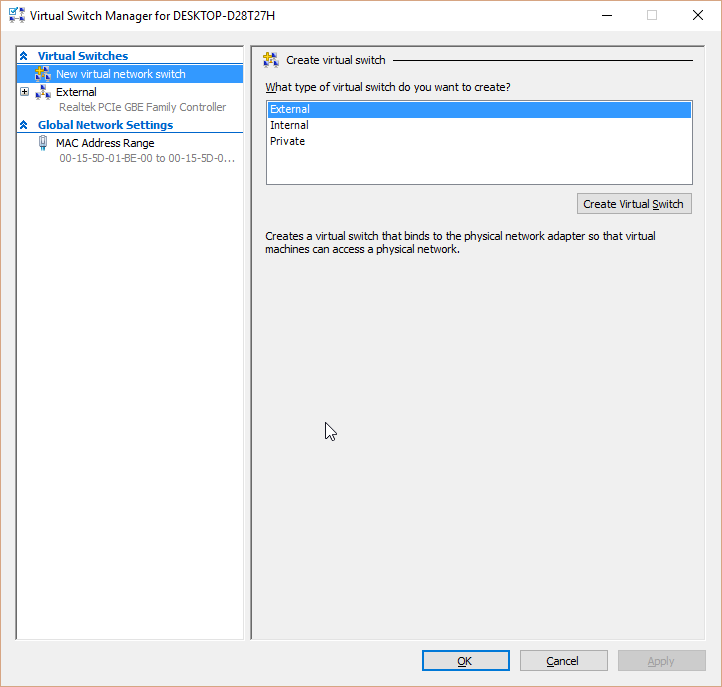
I used the x64 version of Ubuntu so I will need the same x64 version of Visual Studio Code. I assume you have set up Hyper-V and downloaded the ISO for Ubuntu. I am also assuming that you have set up an external switch so your virtual machine can connect to the internet. If not you can set it up in the virtual switch manager. Mine is configured as an external network. In effect the VMs will get an ip address from my router and this enables them to use the internet.
Steps:
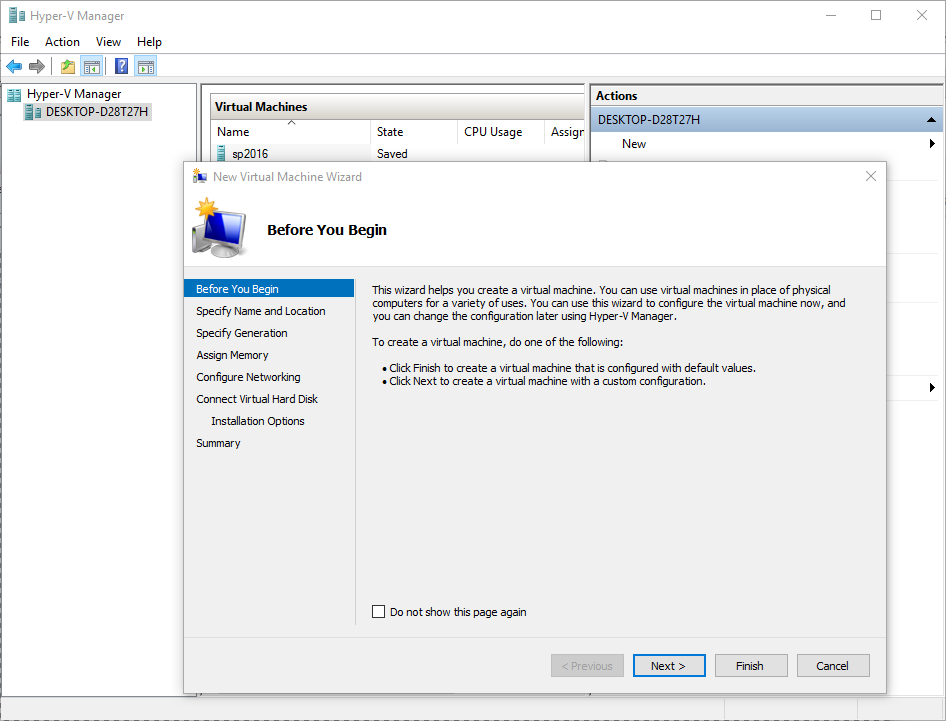
- Create a new VM in Hyper-V using the wizard
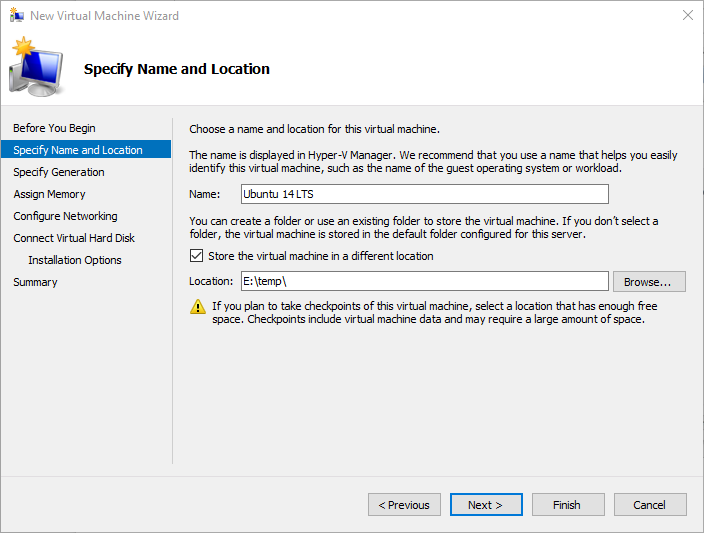
2. Specify name and location of the virtual machine (VM)
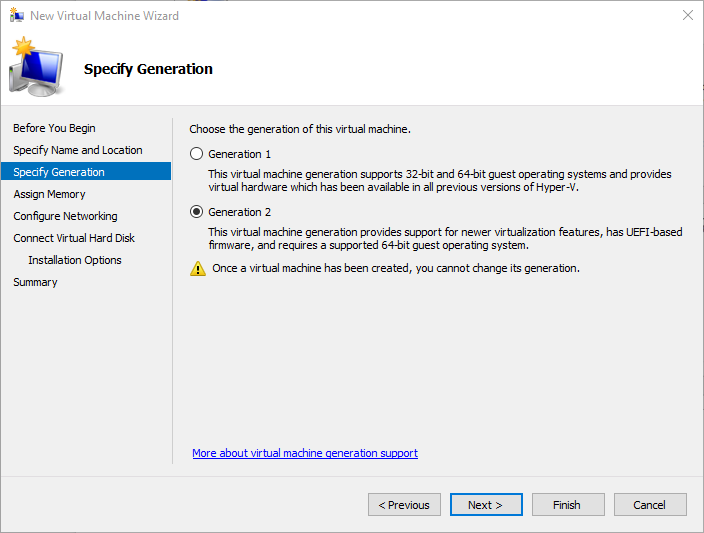
3. Specify the newest VM format. I have not tried with earlier formats
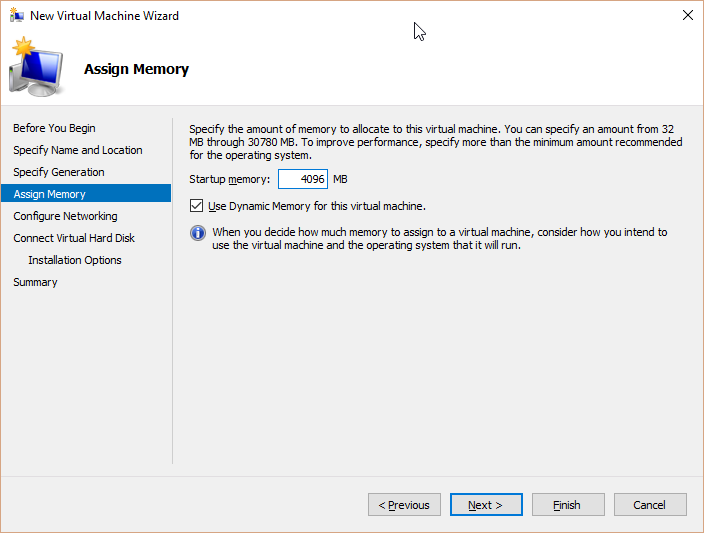
4. Assign memory. I just give it 4 GB but you could probably do with less.
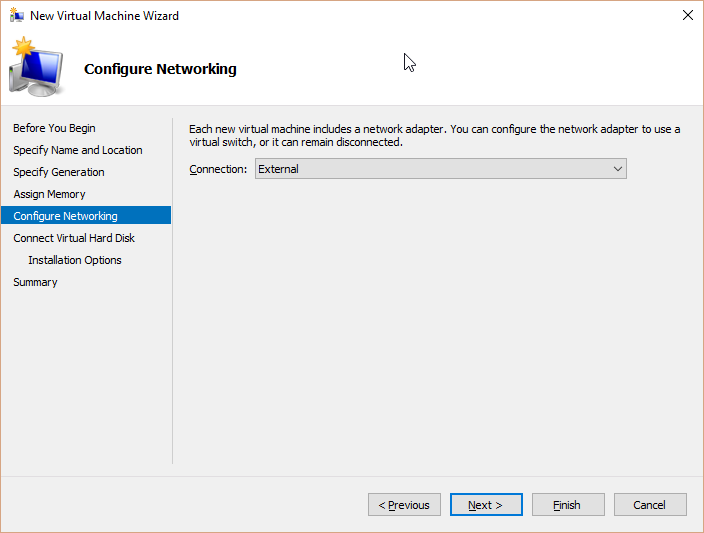
5. Assign networking. I have an external virtual switch so I can connect the VM to the internet. This is necessary for the package manager apt-get to be working and we also want to be able to use npm, the node.js packet manager.
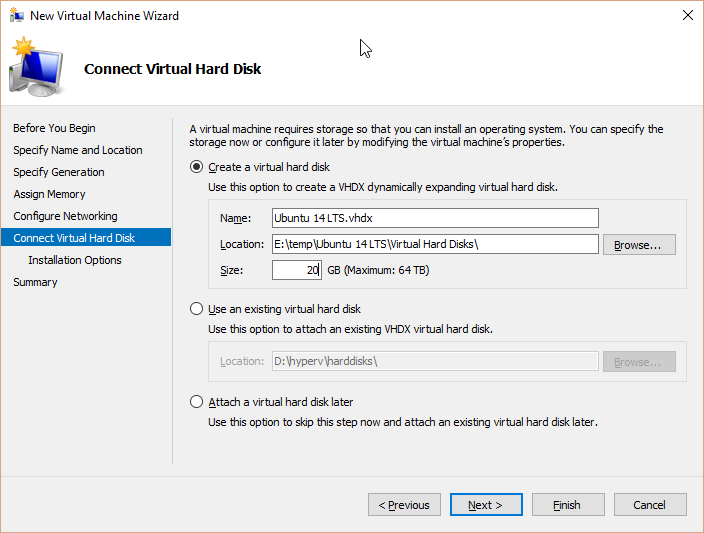
6. Create a new virtual harddisk. 20 GB should be plenty.
7. Specify the path to the Ubuntu 14.04 LTS iso in installation options.
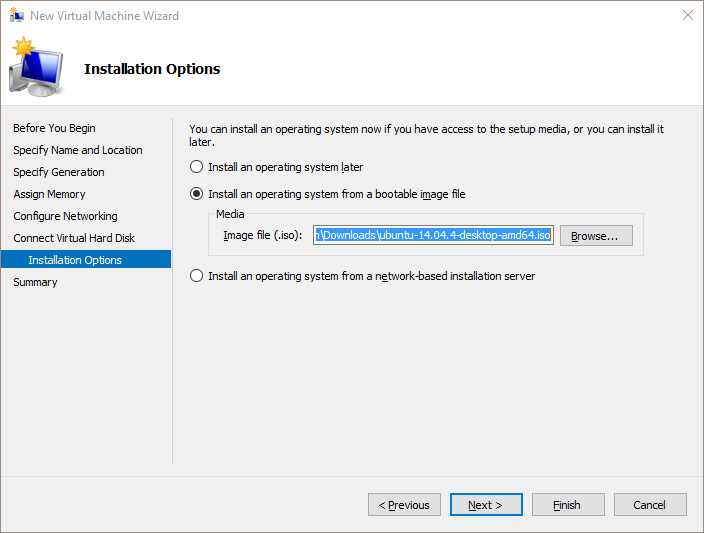
8. Finish the wizard.
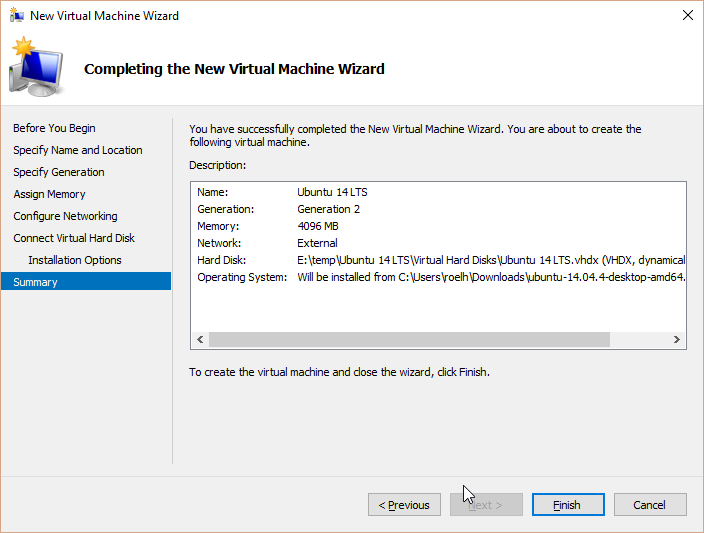
Now the virtual machine is created, go into settings.

Bump up the number of processors:
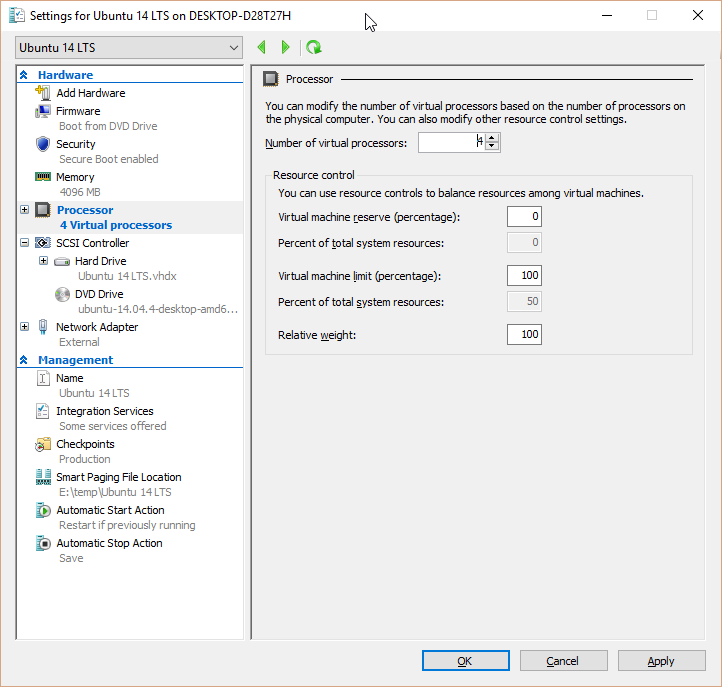
I have set 4 processors as I have plenty of (virtual) processors on an AMD FX8320. This CPU is an octacore. The reason to assign extra processors is that I could not get video acceleration working on Ubuntu in Hyper-V. If you just have one processor the Ubuntu desktop performs quite slowly.
Now we also need to set some boot options as otherwise Ubuntu will not boot. We need to disable secure boot (I think this only applies to 2nd generation VMs):
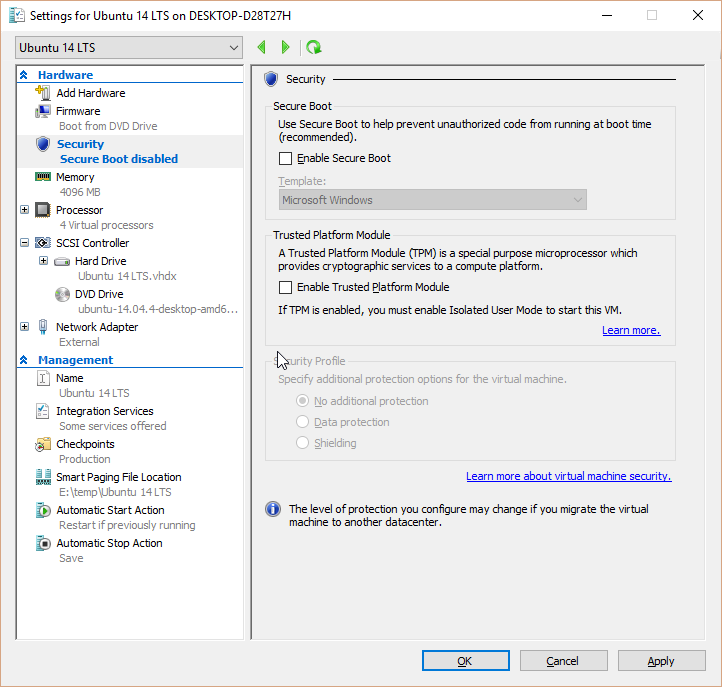
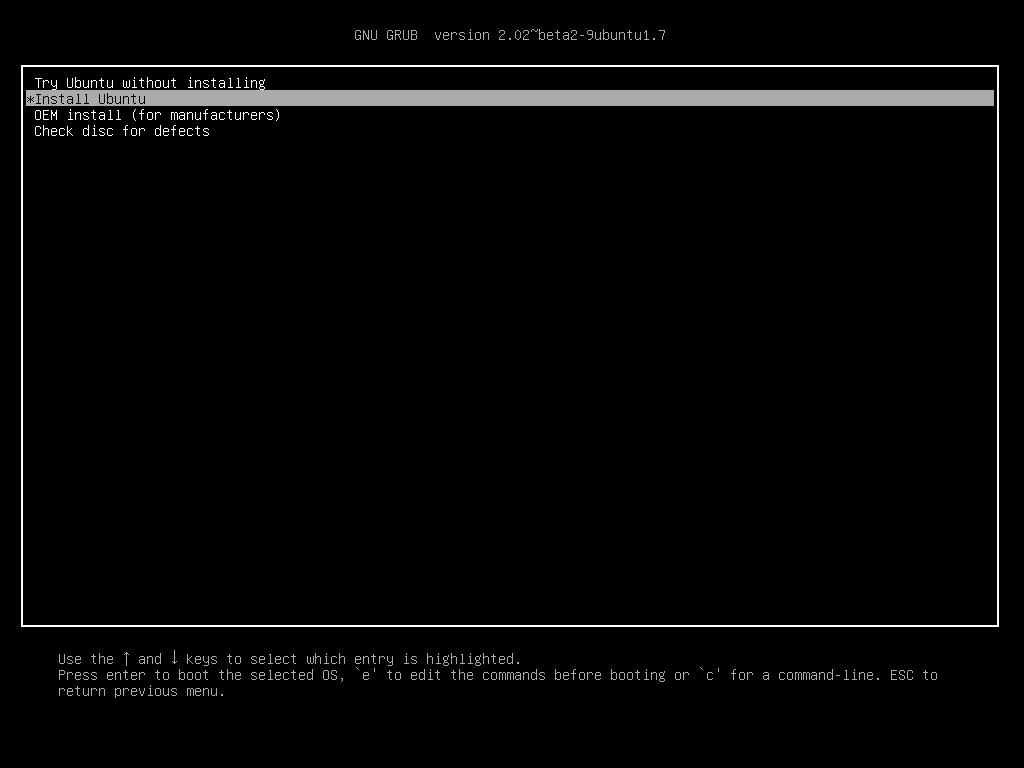
Okay now we are done let’s boot Ubuntu by starting the VM. Choose install Ubuntu.
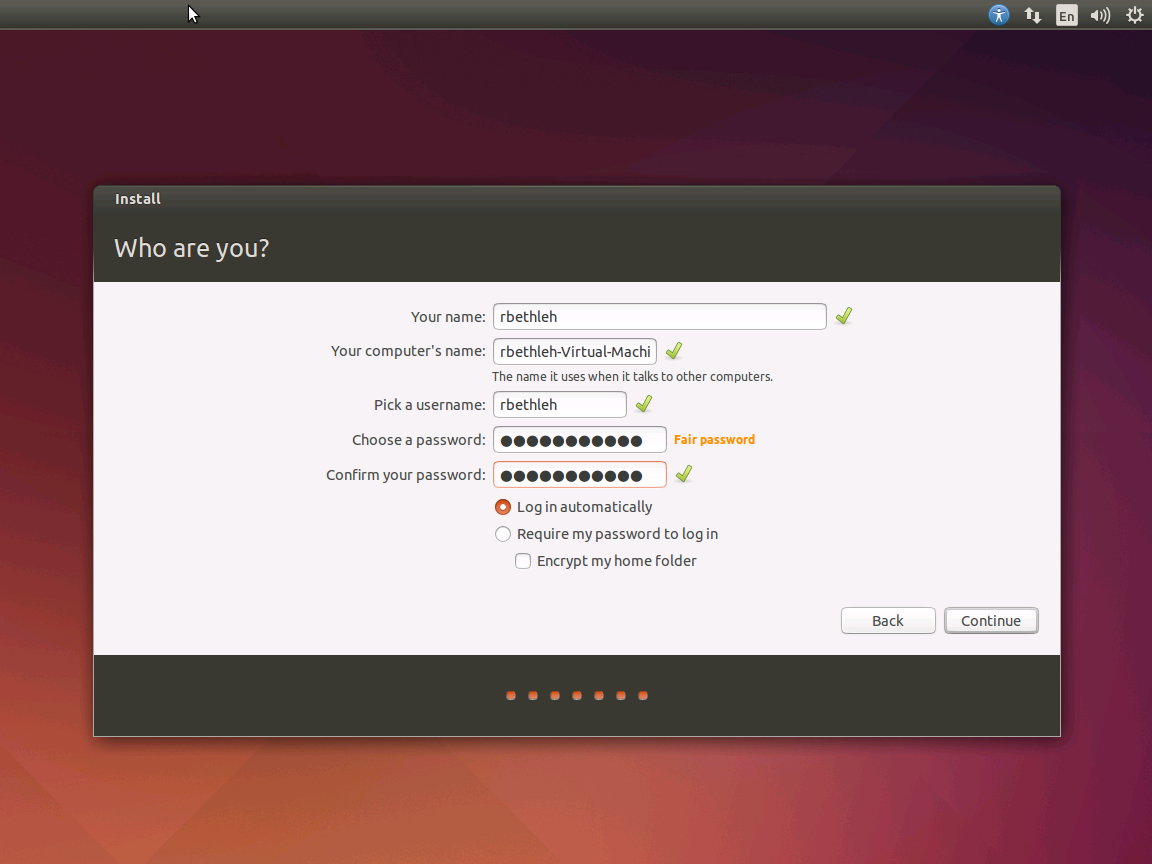
Now the installer boots up and just accept the defaults but make sure you choose the correct timezone and set the correct keyboard settings. For username set it to something you can remember and set it to login automatically.
Now Ubuntu will install and get yourself some more cafeïne.
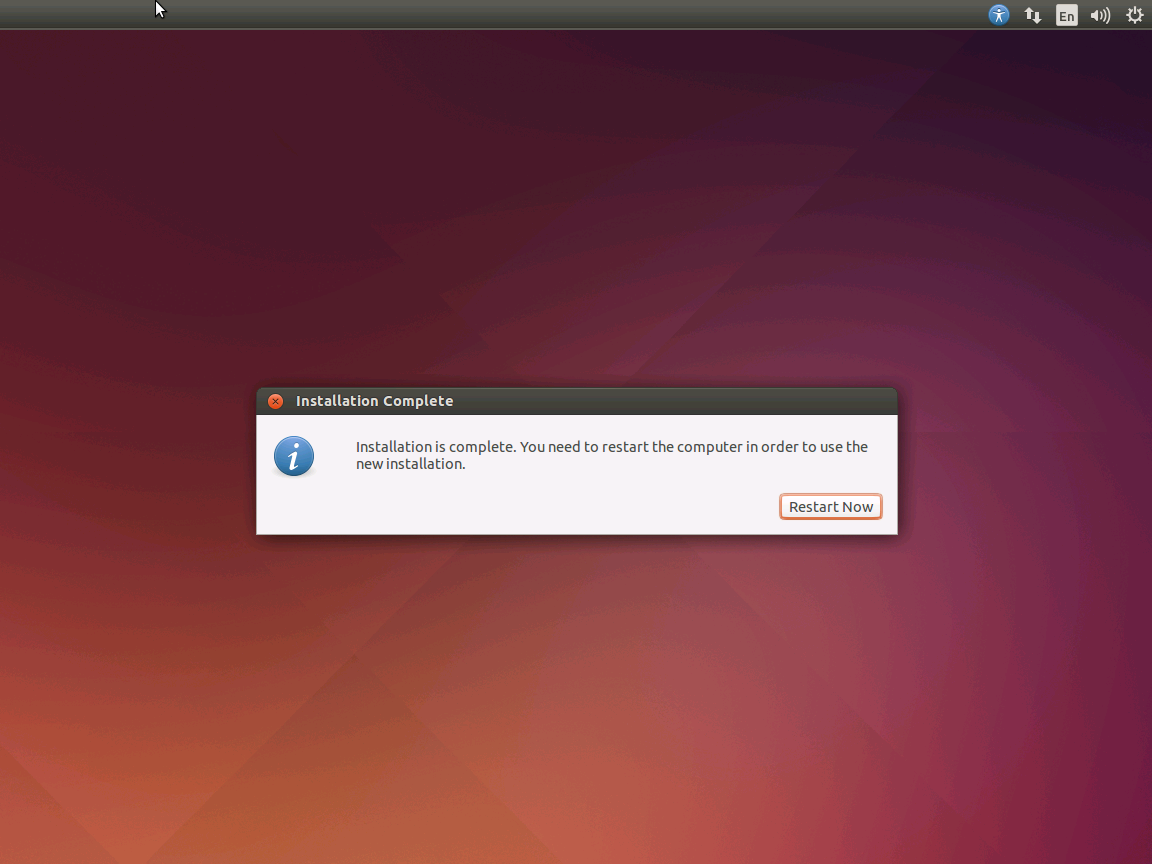
Restart and after pressing enter you should be greeted with the Ubuntu desktop.
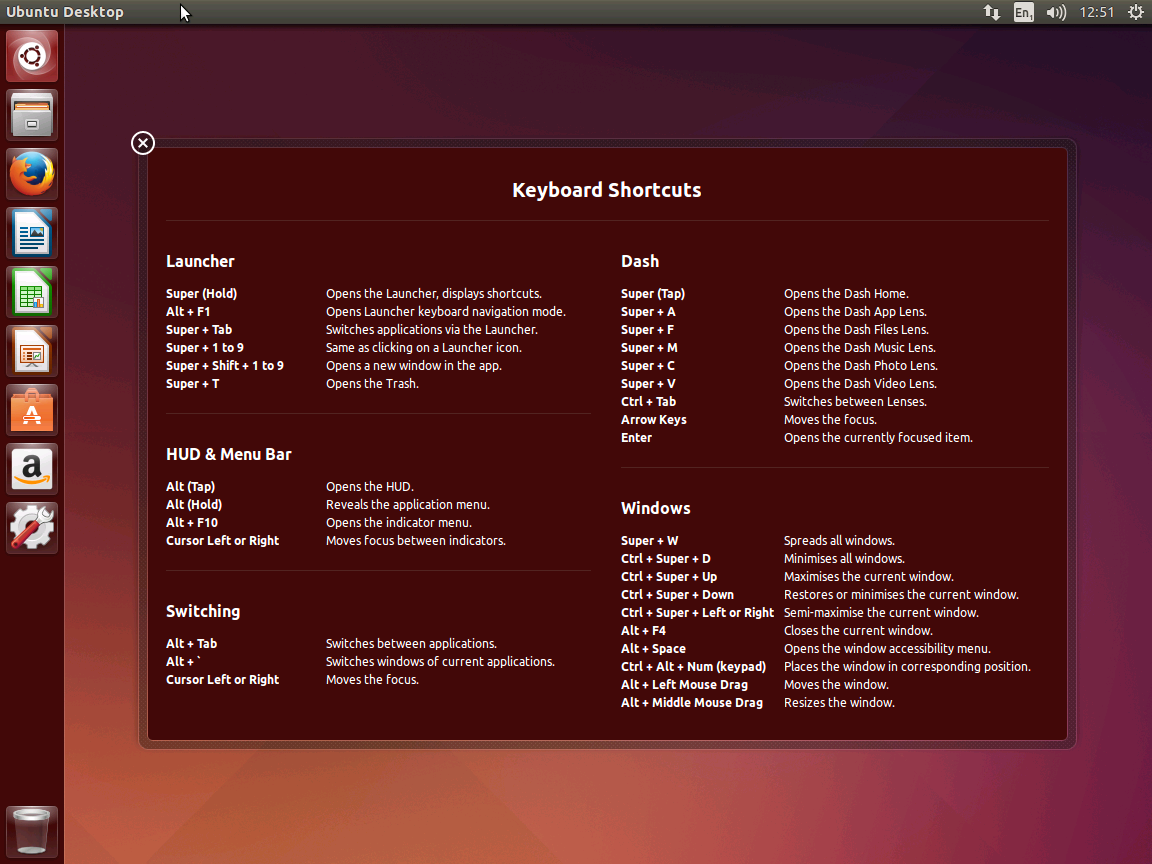
Now we will need to do a few things.
We will need to update Ubuntu to the latest version
We will need to install extras to enable some extra functionality. See: https://technet.microsoft.com/en-us/library/dn531029.aspx
We need to fix the video settings so we can run full screen in Hyper-V
- Update Ubuntu.
Open a terminal in Ubuntu. If you are not familiar with Ubuntu just press the button in the upper left corner and type terminal.
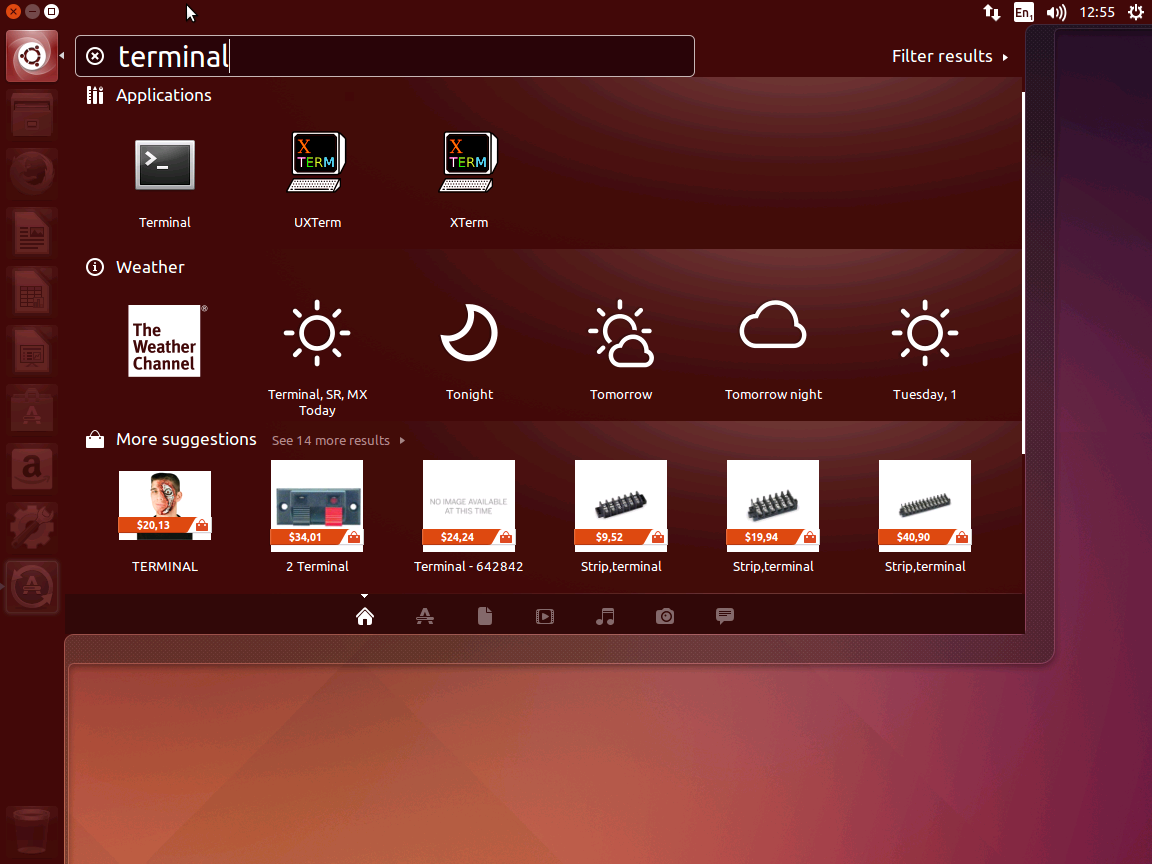
Click terminal in applications. Then type the following:
sudo apt-get update
sudo apt-get upgrade
This will update Ubuntu.
2. Install extensions for the Hyper-V on the virtual machine.
In the same terminal type:
sudo apt-get install –install-recommends linux-virtual-lts-vivid
sudo apt-get install –install-recommends linux-tools-virtual-lts-vivid linux-cloud-tools-virtual-lts-vivid
3. Fix the video settings. Since we want to develop we need to run full screen. To do this we need to set the video manually as display settings in Ubuntu cannot detect the correct settings. In the same terminal type (i am using nano since it is more friendly as vi):
sudo nano /etc/default/grub
Locate the line that reads:
GRUB_CMDLINE_LINUX_DEFAULT=”quiet splash”
And change it to (in my case 1920×1080 is the highest my monitor can handle):
GRUB_CMDLINE_LINUX_DEFAULT=”quiet splash video=hyperv_fb:1920×1080″
Press ctrl-x and say Y to save your settings. Now update grub by typing this in the terminal, then reboot:
sudo update-grub
sudo reboot
You should now be able to run your hyper-v vm with Ubuntu in full screen. Now we should be able to install some Visual Studio Code goodness.
After the reboot open up the terminal again (taken from http://askubuntu.com/questions/616075/how-to-install-visual-studio-code-on-ubuntu).
sudo add-apt-repository ppa:ubuntu-desktop/ubuntu-make
sudo apt-get update
sudo apt-get install ubuntu-make
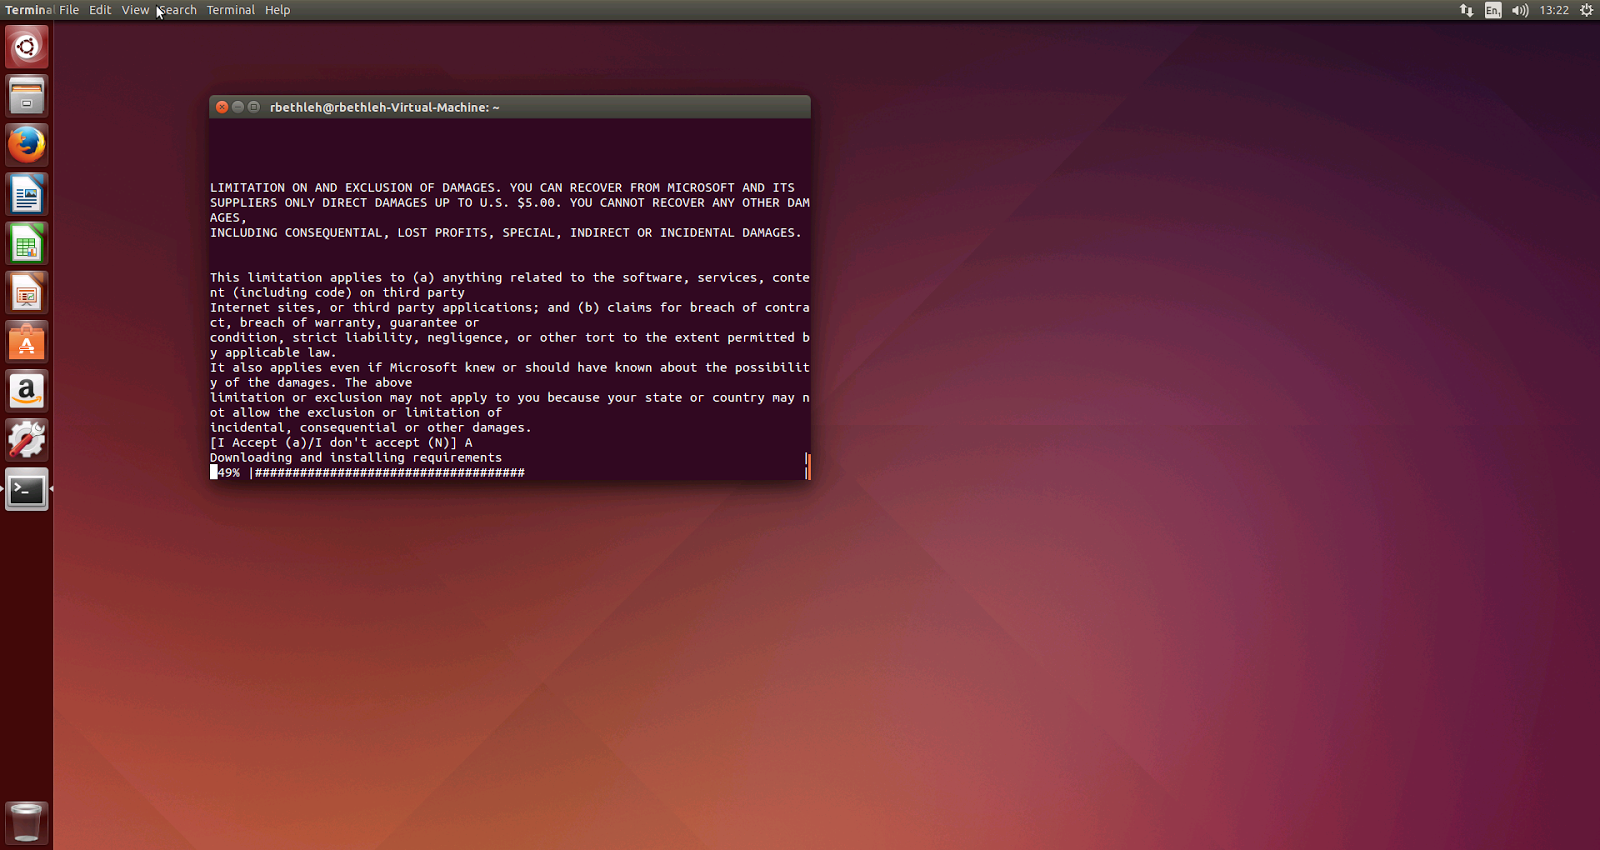
Then install Visual Studio Code:
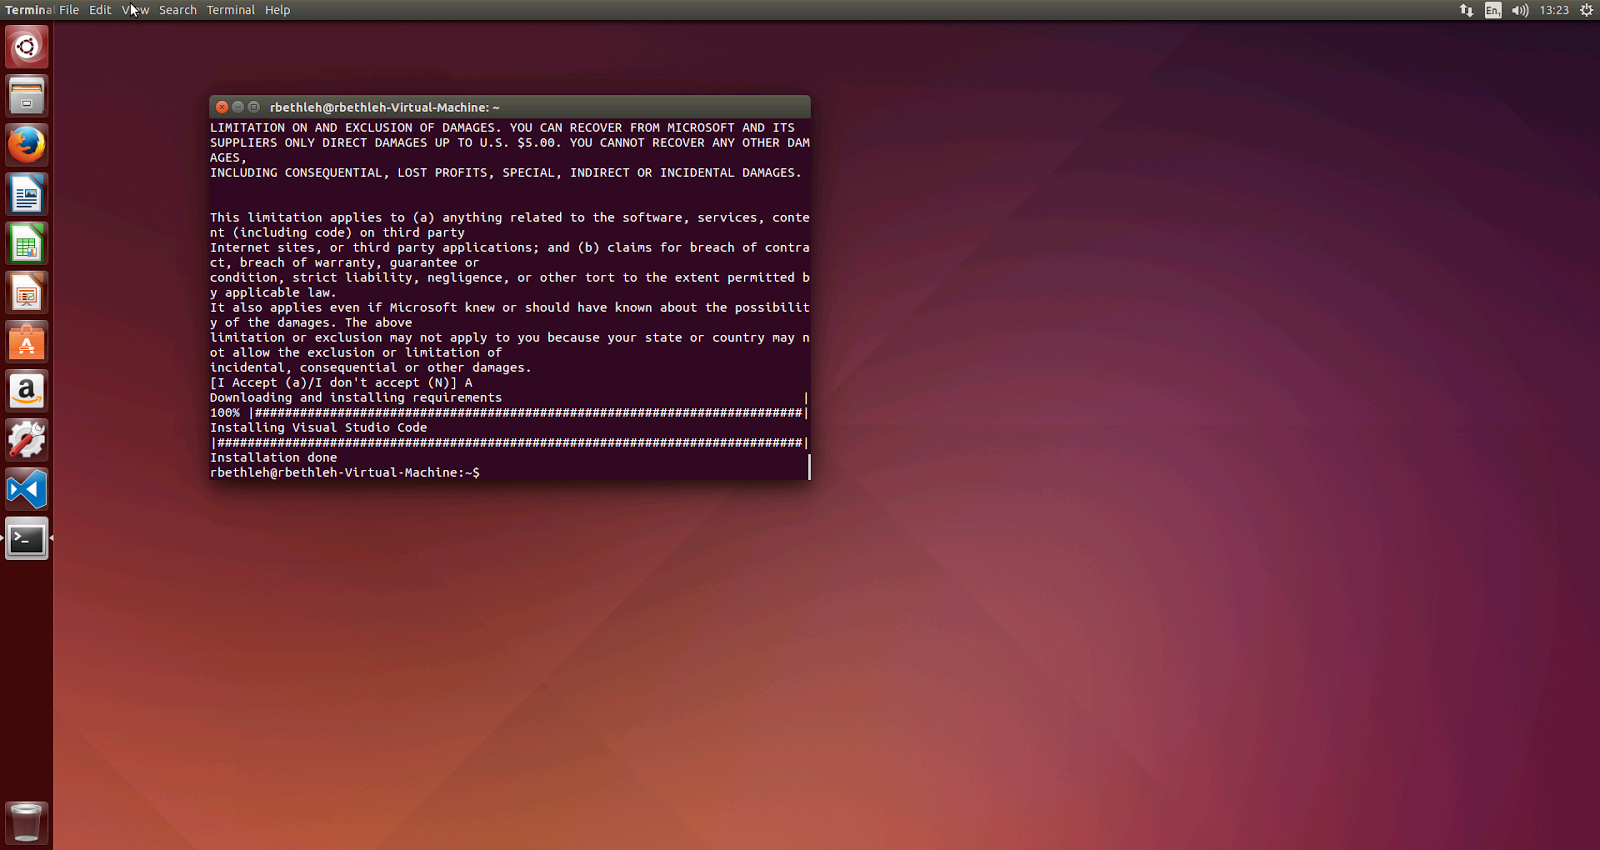
umake ide visual-studio-code
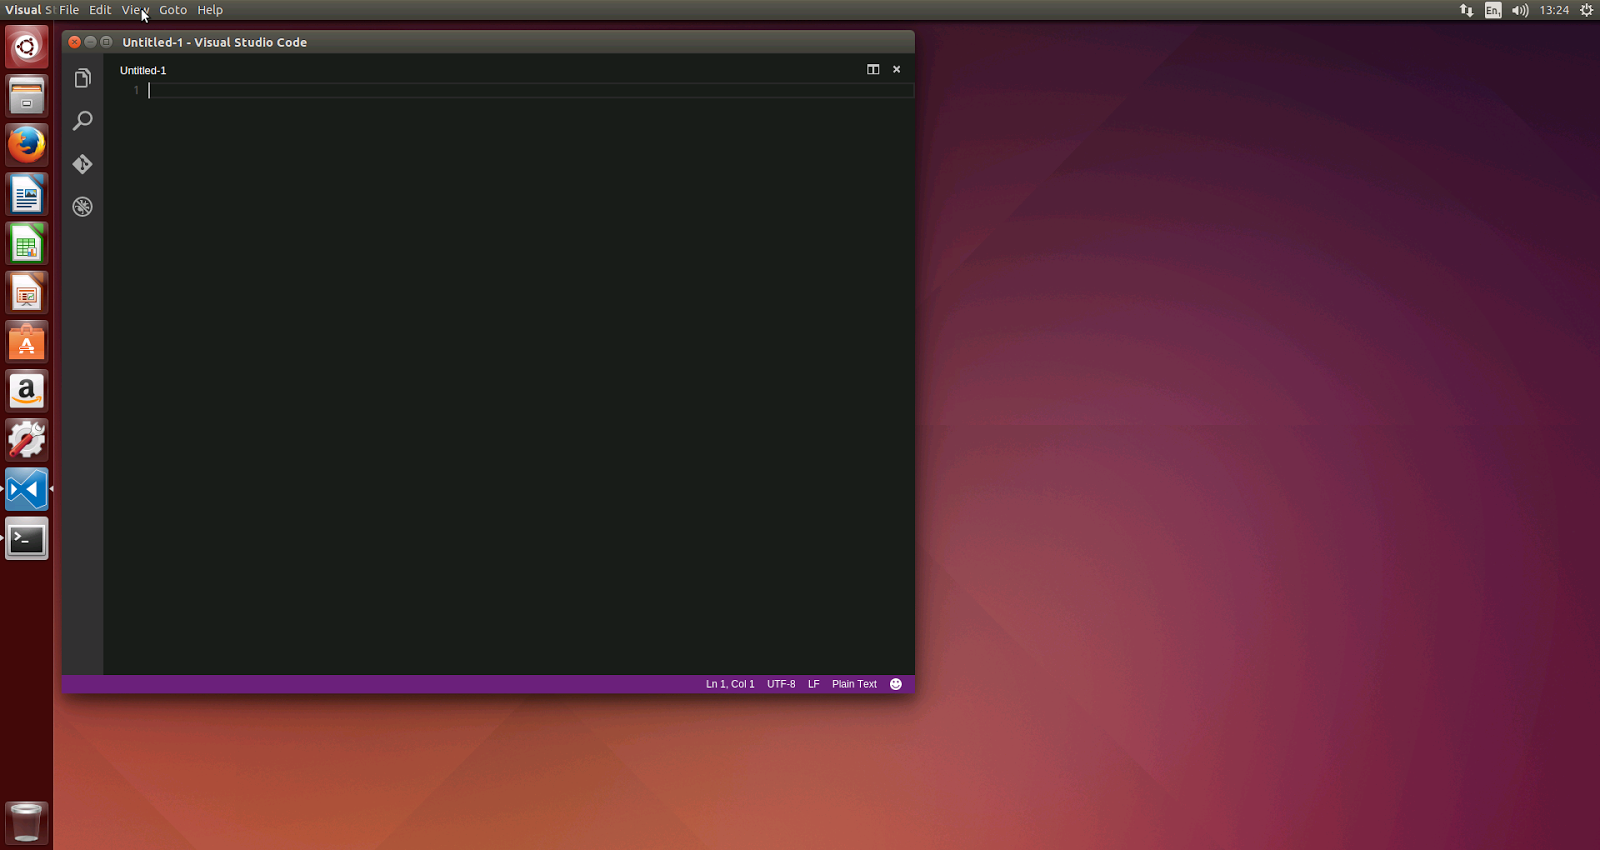
Now Visual Studio Code will be installed and an icon will be added in the launchbar for Visual Studio.
Fix problematic node nodejs reference
ln -s /usr/bin/nodejs /usr/bin/node
See: http://stackoverflow.com/questions/26320901/cannot-install-nodejs-usr-bin-env-node-no-such-file-or-directory
You are ready to go now.