This is the game I played for my chess team in the dutch 2nd class regional league on the 26th of march 2015.
Alle berichten van roelhans
Chess.com
I am also active on chess.com. My handle is roelhans. So if you like to play, find me there. Here is an example of a game. Lees verder Chess.com
Installing Linux Arch on the Raspberry Pi 2
Howto setup Arch Linux and make it look super awesome, behave like chrome OS and play sound and video
With my new Raspberry Pi 2 I wanted to have a lightweight desktop that can handle my day to day tasks being:
- Simple wordprocessing / excel / presentations using Google Drive
- Email using outlook.com
- Play music with Spotify, my own music library and Radioparadise
- Webbrowsing
- Play movies
I could not get this to work completely well in Raspbian and decided to have a shot at Arch Linux but i was a little intimidated by the barebones approach of Arch Linux (in hindsight I found it much more straightforward then Raspbian). Here is what I did.
TODO: Spotify not working as despotify is broken, maybe respotify will work
First prepare an mini SD card with Arch Linux to install Arch and boot:
The Arch Linux ARM project has the setup instructions at http://archlinuxarm.org/platforms. You can find an entry for Raspberry Pi 2 at http://archlinuxarm.org/platforms. You will need a computer micro SD card reader and running Linux as it needs to create a ext4 partition. Basically it goes like this:
- Partition the SD card using fdisk, ensure that you have the right device for your SD card! Two partitions are created boot and root. (Start fdisk to partition the SD card: fdisk /dev/sdX. At the fdisk prompt, delete old partitions and create a new one: Type o. This will clear out any partitions on the drive. Type p to list partitions. There should be no partitions left. Type n, then p for primary, 1 for the first partition on the drive, press ENTER to accept the default first sector, then type +100M for the last sector. Type t, then c to set the first partition to type W95 FAT32 (LBA). Type n, then p for primary, 2 for the second partition on the drive, and then press ENTER twice to accept the default first and last sector. Write the partition table and exit by typing w.
- Then create and mount the new partitions (mkfs.vfat /dev/sdX1, mkdir boot, mount /dev/sdX1 boot. Create and mount the ext4 filesystem: mkfs.ext4 /dev/sdX2, mkdir root, mount /dev/sdX2 root
- Now archlinux is just copied on to those partitions using wget. Do apt-get install bsdtar if you do not have bsdtar (wget http://archlinuxarm.org/os/ArchLinuxARM-rpi-2-latest.tar.gz, bsdtar -xpf ArchLinuxARM-rpi-2-latest.tar.gz -C root, sync)
- Move root files to boot partition (mv root/boot/* boot)
- Unmount the two partitions: (umount boot root)
- Hook everything up to the raspberry pi (screen, keyboard and ethernet cable). Insert the SD card into the Raspberry Pi and power it up.
Second: you should now see pi load arch. Lets configure arch so we have a graphical desktop (copied from https://hreikin.wordpress.com/2014/04/27/arch-linux-raspberry-pi-install-guide-updated/)
- log in with user root and password root
- Change password: at prompt type passwd and change the password of root to something more secure
- Setup timezone: at prompt type
- rm /etc/localtime
- ln -s /usr/share/zoneinfo/America/New_York /etc/localtime (symbolic linking my timezone as local time)
- nano /etc/timezone and fill in (or replace America/New_York) your own, in my case Europe/Amsterdam
- setup host name: nano /etc/hosts and add hostname in line 127.0.0.1 localhost.localdomain localhost yourhostname (in my case raspberrypi)
- create pacman (package manager) key: pacman-key –init with me this created the key no problem. Unsure why you would have to alt-f2 and then ls -R / && ls -R / && ls -R /
- Update the system: pacman -Syu
- Reboot: shutdown -r now
Set up non-root user:
- After reboot and login as root and install sudo: pacman -S sudo
- Type: EDITOR=nano visudo
- Uncomment following lines: %wheel ALL=(ALL) ALL, %sudo ALL=(ALL) NOPASSWD: ALL, %sudo ALL=(ALL) NOPASSWD: ALL and then save the file
- Install adduser: pacman -S adduser
- Type adduser: adduser (Follow the on screen prompts; pick your username, using the next available UID is fine. Use the default users as the initial group. For additional groups, add the following : audio,lp,optical,storage,video,wheel,games,power,scanner. The default home directory and shell are both fine. Unless you want one, don’t bother putting an expiration date in. The script will then ask you to confirm the entry as you’ve entered it. If all is satisfactory, continue to make the account, give the user a password, and add any other information it asks for as desired. Save and exit, then logout and back in :
- type: groupadd sudo
- type: usermod -a -G sudo your_username
- type logout and then login with your new username and new password.
Install windowmanager:
- type: sudo pacman -S xorg xorg-xinit xorg-server xorg-server-utils xterm lxde
- type: sudo pacman -S ttf-dejavu
- Install slim loginmanager: sudo pacman -S slim
- Enable slim service: sudo systemctl enable slim.service
- Tell slim to start lxde: sudo nano ~/.xinitrc and uncomment lxde entry (exec lxde)
- Reboot using shutdown -r now
Set the right screen resolution: After install the screen showed black borders. This is what I did to remove them:
- type: sudo nano /boot/config.txt
- scroll down and uncomment disableoverscan=1
Get the sound to work: see: https://wiki.archlinux.org/index.php/Raspberry_Pi
- Install ALSA: pacman -S alsa-utils alsa-firmware alsa-lib alsa-plugins
- Force audio over jack as I want to be able to play music headless from the raspberry pi:
sudo amixer cset numid=3 1
Install software:
- Add Variety to make the desktop look super awesome: sudo pacman -S variety
- Add a lightweight browser since its so fast as it does not have javascript but does render quite well: sudo pacman -S netsurf
- Add a mediaplayer: sudo pacman -S omxplayer-git (sound quality is much better than say radio-tray)
- Add additional codecs by installing mplayer: sudo pacman -S mplayer
- Add Chromium so we can browse modern websites as well (google drive works!): sudo pacman -S chromium
- Add Remote Desktop so I am able to interact with Windows Server since I do SharePoint development: sudo pacman -S freerdp remmina
- Add screenshot tool. I chose shutter despite it adding quite some dependencies: sudo pacman -S shutter
- Add filezilla FTP: sudo pacman -S filezilla
- Add evince for PDF support: sudo pacman -S evince
Add printer:
Since my printer is a Pixma MX520 it has no compiled printer drivers for the ARM architecture and CUPS doesnt have them either. So we can use Chromium to handle the printer through Google Cloudprint. Go to Chromium Settings > Advanced Settings > Google Cloud Print > Manage (you might have to sign in to your google account). Since i had already set up a google cloud printer with my chromebook this just works.
Add chromium apps:
These will be automatically added but this might take a while. In my case it added caret (text editor), astonishing comic reader, chrome rdp, pocket and vnc viewer. Not sure if they all work but this was written on caret.
Add codecs:
Most codecs are already installed. Buy codecs from pi store if you need them. For me wmv does not seem to work and requires vc-1 afaik. Also mpeg 2 requires codec.
Map network drives:
Since I am using Synology Cloudstation on my DS214 I can just mount the share to my raspberry to ensure that I am working with googledrive.
In your home folder: mkdir googledrive
Type: sudo mount -t cifs -o username=user,password=password //ipaddressofnas/…../CloudStation ~/googledrive
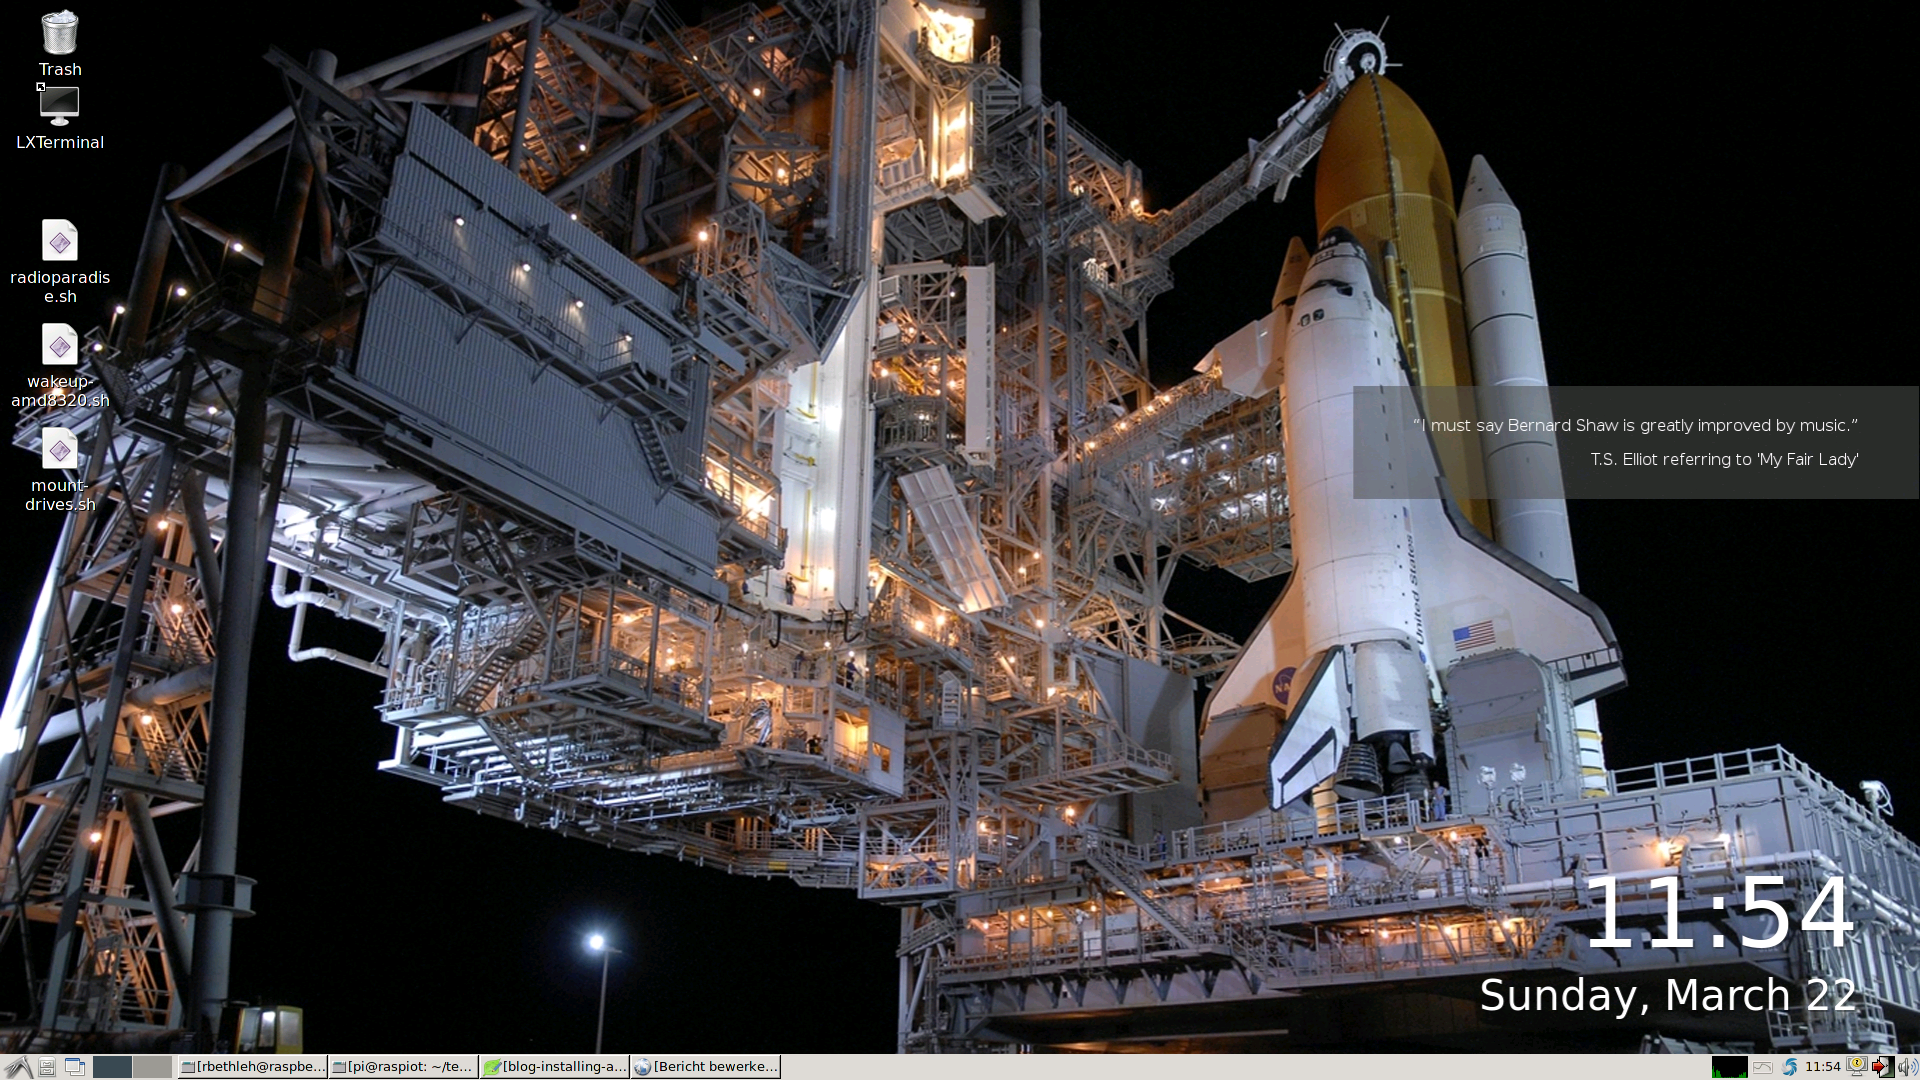
Thats it! Enjoy your 35 dollar desktop (excluding sd card, power supply and HDMI cable). Here is what my desktop looks like.
Out with the old, in with the new
Well my blog was really gathering dust. So I decided to pull it and start anew. Most content was really old (SharePoint 2007 ish old). So a new blog, a new start and new content.
Yup new content. Just concentrating on what I find fun:
- Computers
- Books
- Music
- Guitar
- Chess
I hope you will enjoy and yup this also for own benefit as I just need to take notes to learn from what I am doing.